-
- Week2 Overview
- 2D-Raster-GIMP
- 2D-Vector-Inkscape
- 3D-design-Onshape
- 3D-design-Fusion360
- Sketch of Final Project
- Assignment files of Week2
Week-2 Computer Aided design
Week 2 - Overview
In week 2 of the study, I gained a detailed understanding of computer-aided design (CAD),which I found to be a fascinating skill set.
It allows for the combination of one's imagination with feasible practices to create desired items.
Here are some skills I learned:
These skills are not only interesting but also empower me to bring my creative ideas to life through practical implementation.
Reference Links
Week2 Computer Aided design Guide for my Fab Academy Journey.Version control & GitLab.
2D-Raster-GIMP
1.Install GIMP in your computer

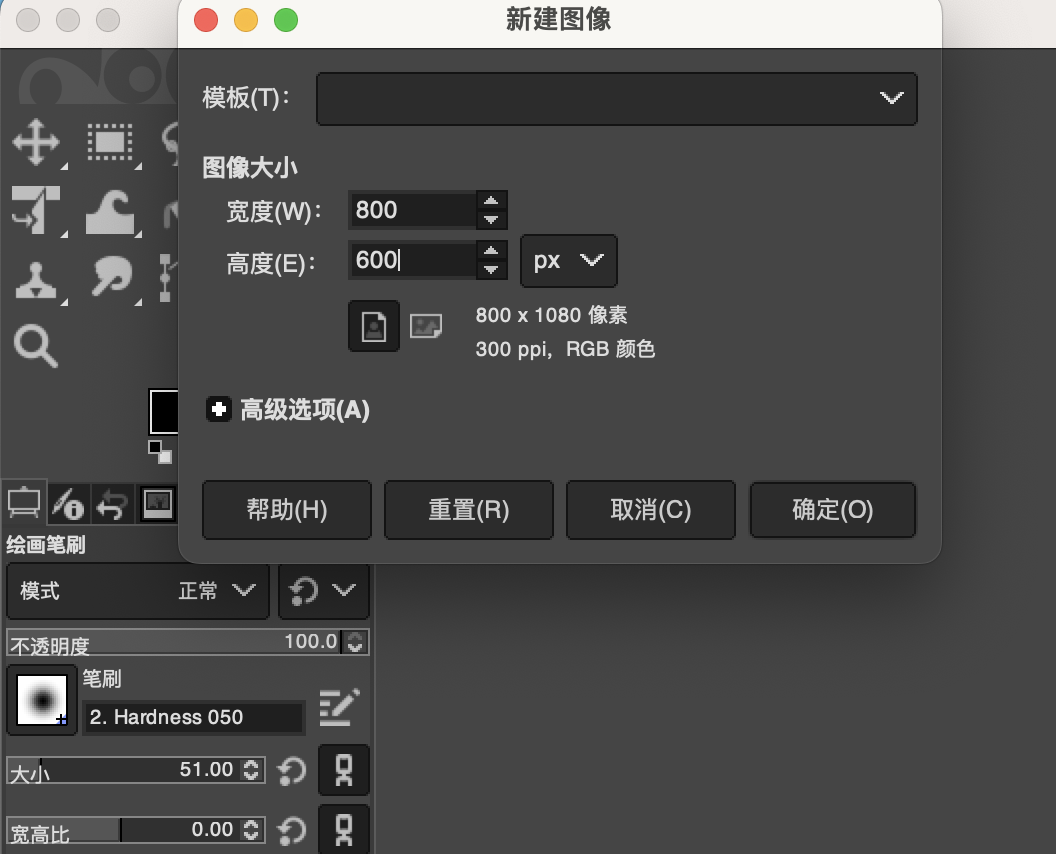
2.Create an 800x600px Canvas
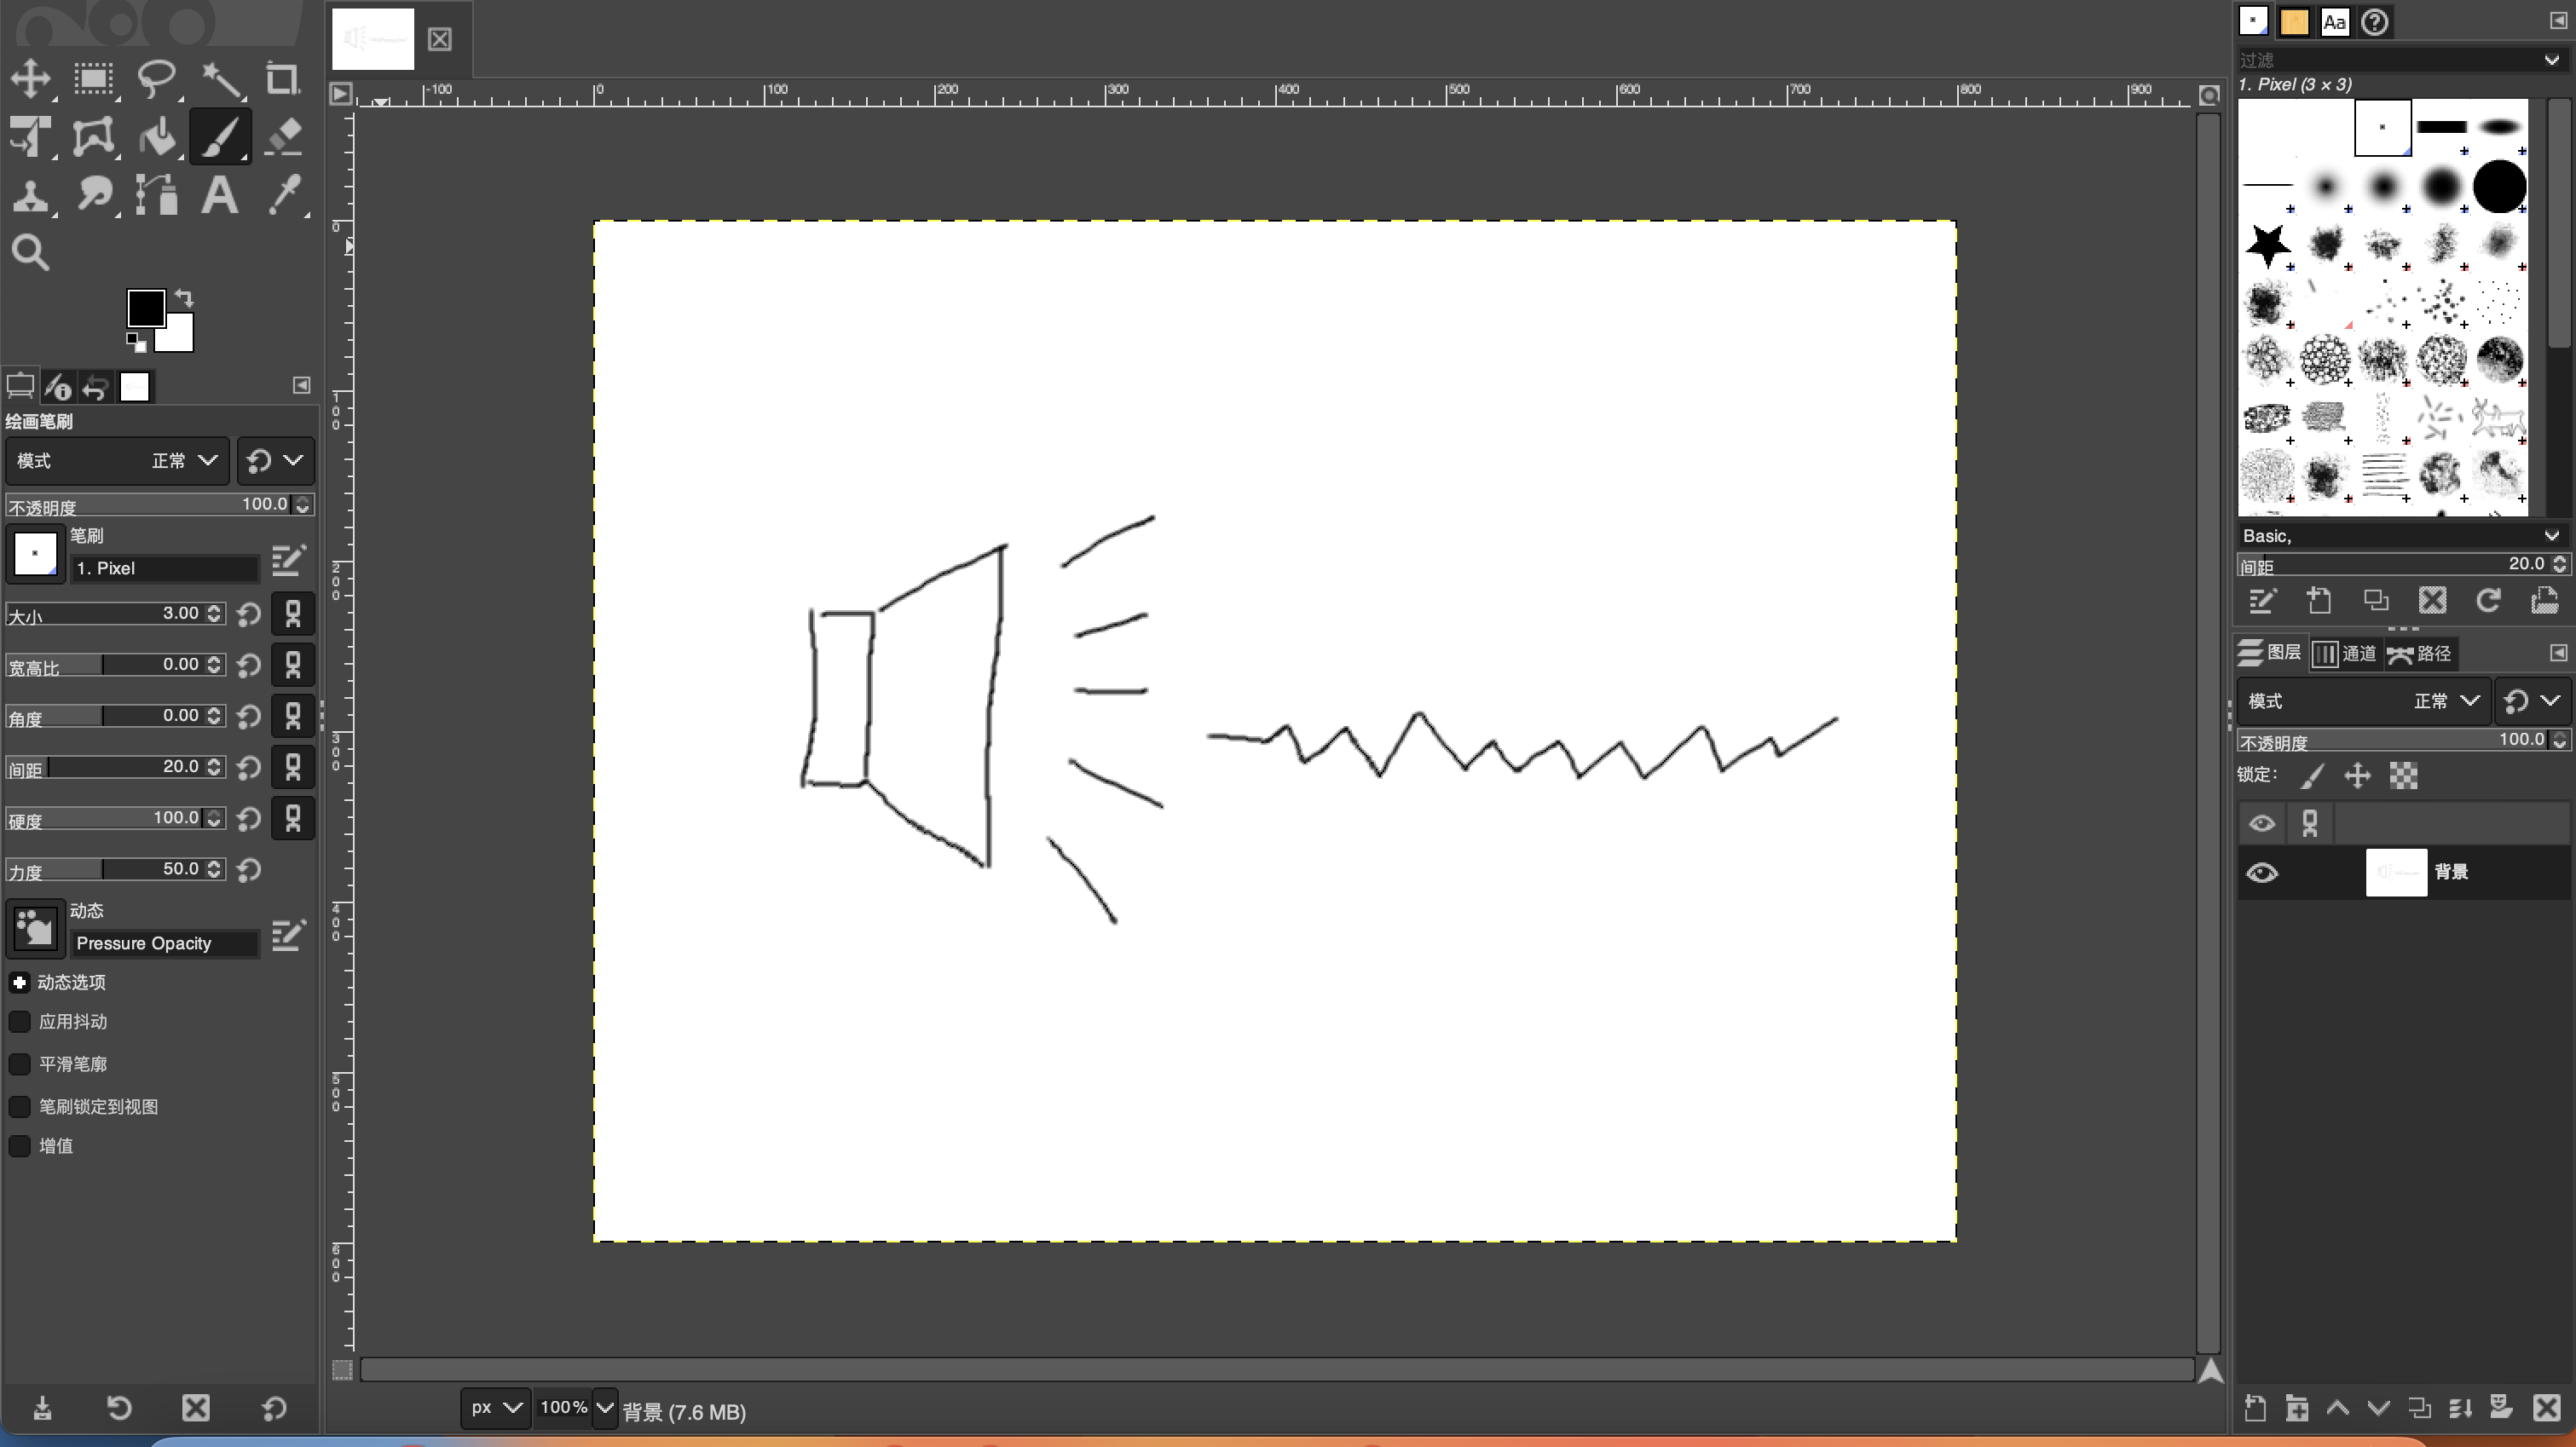
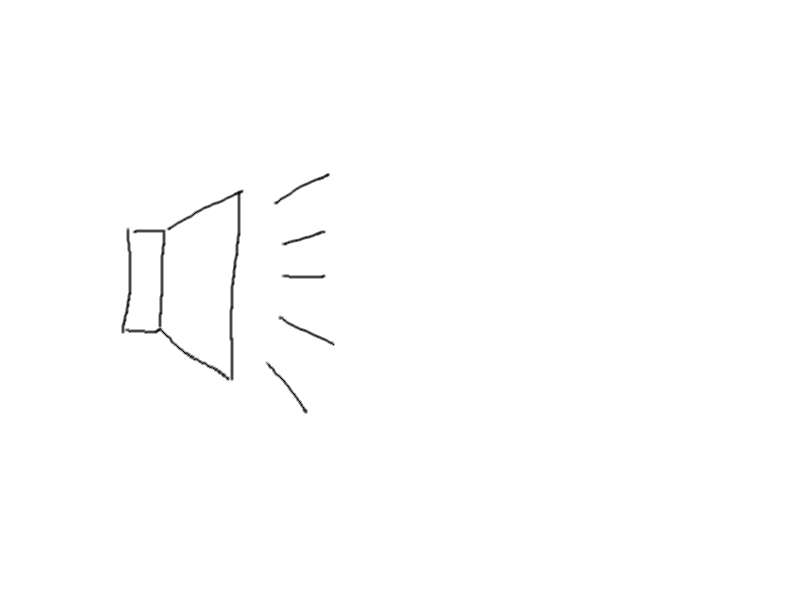
3.Draw a Speaker and Sound Waves
4.Create Two More Layers for the Sound-Off Appearance and Changed Sound Waves
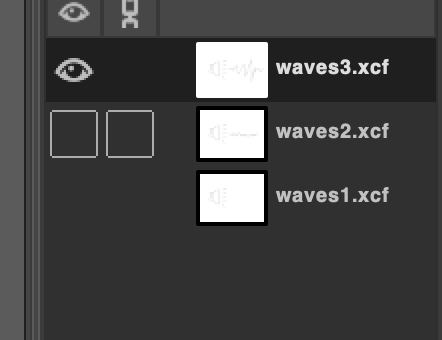
5.Arrange These 3 Layers in Order and Use a GIF Maker
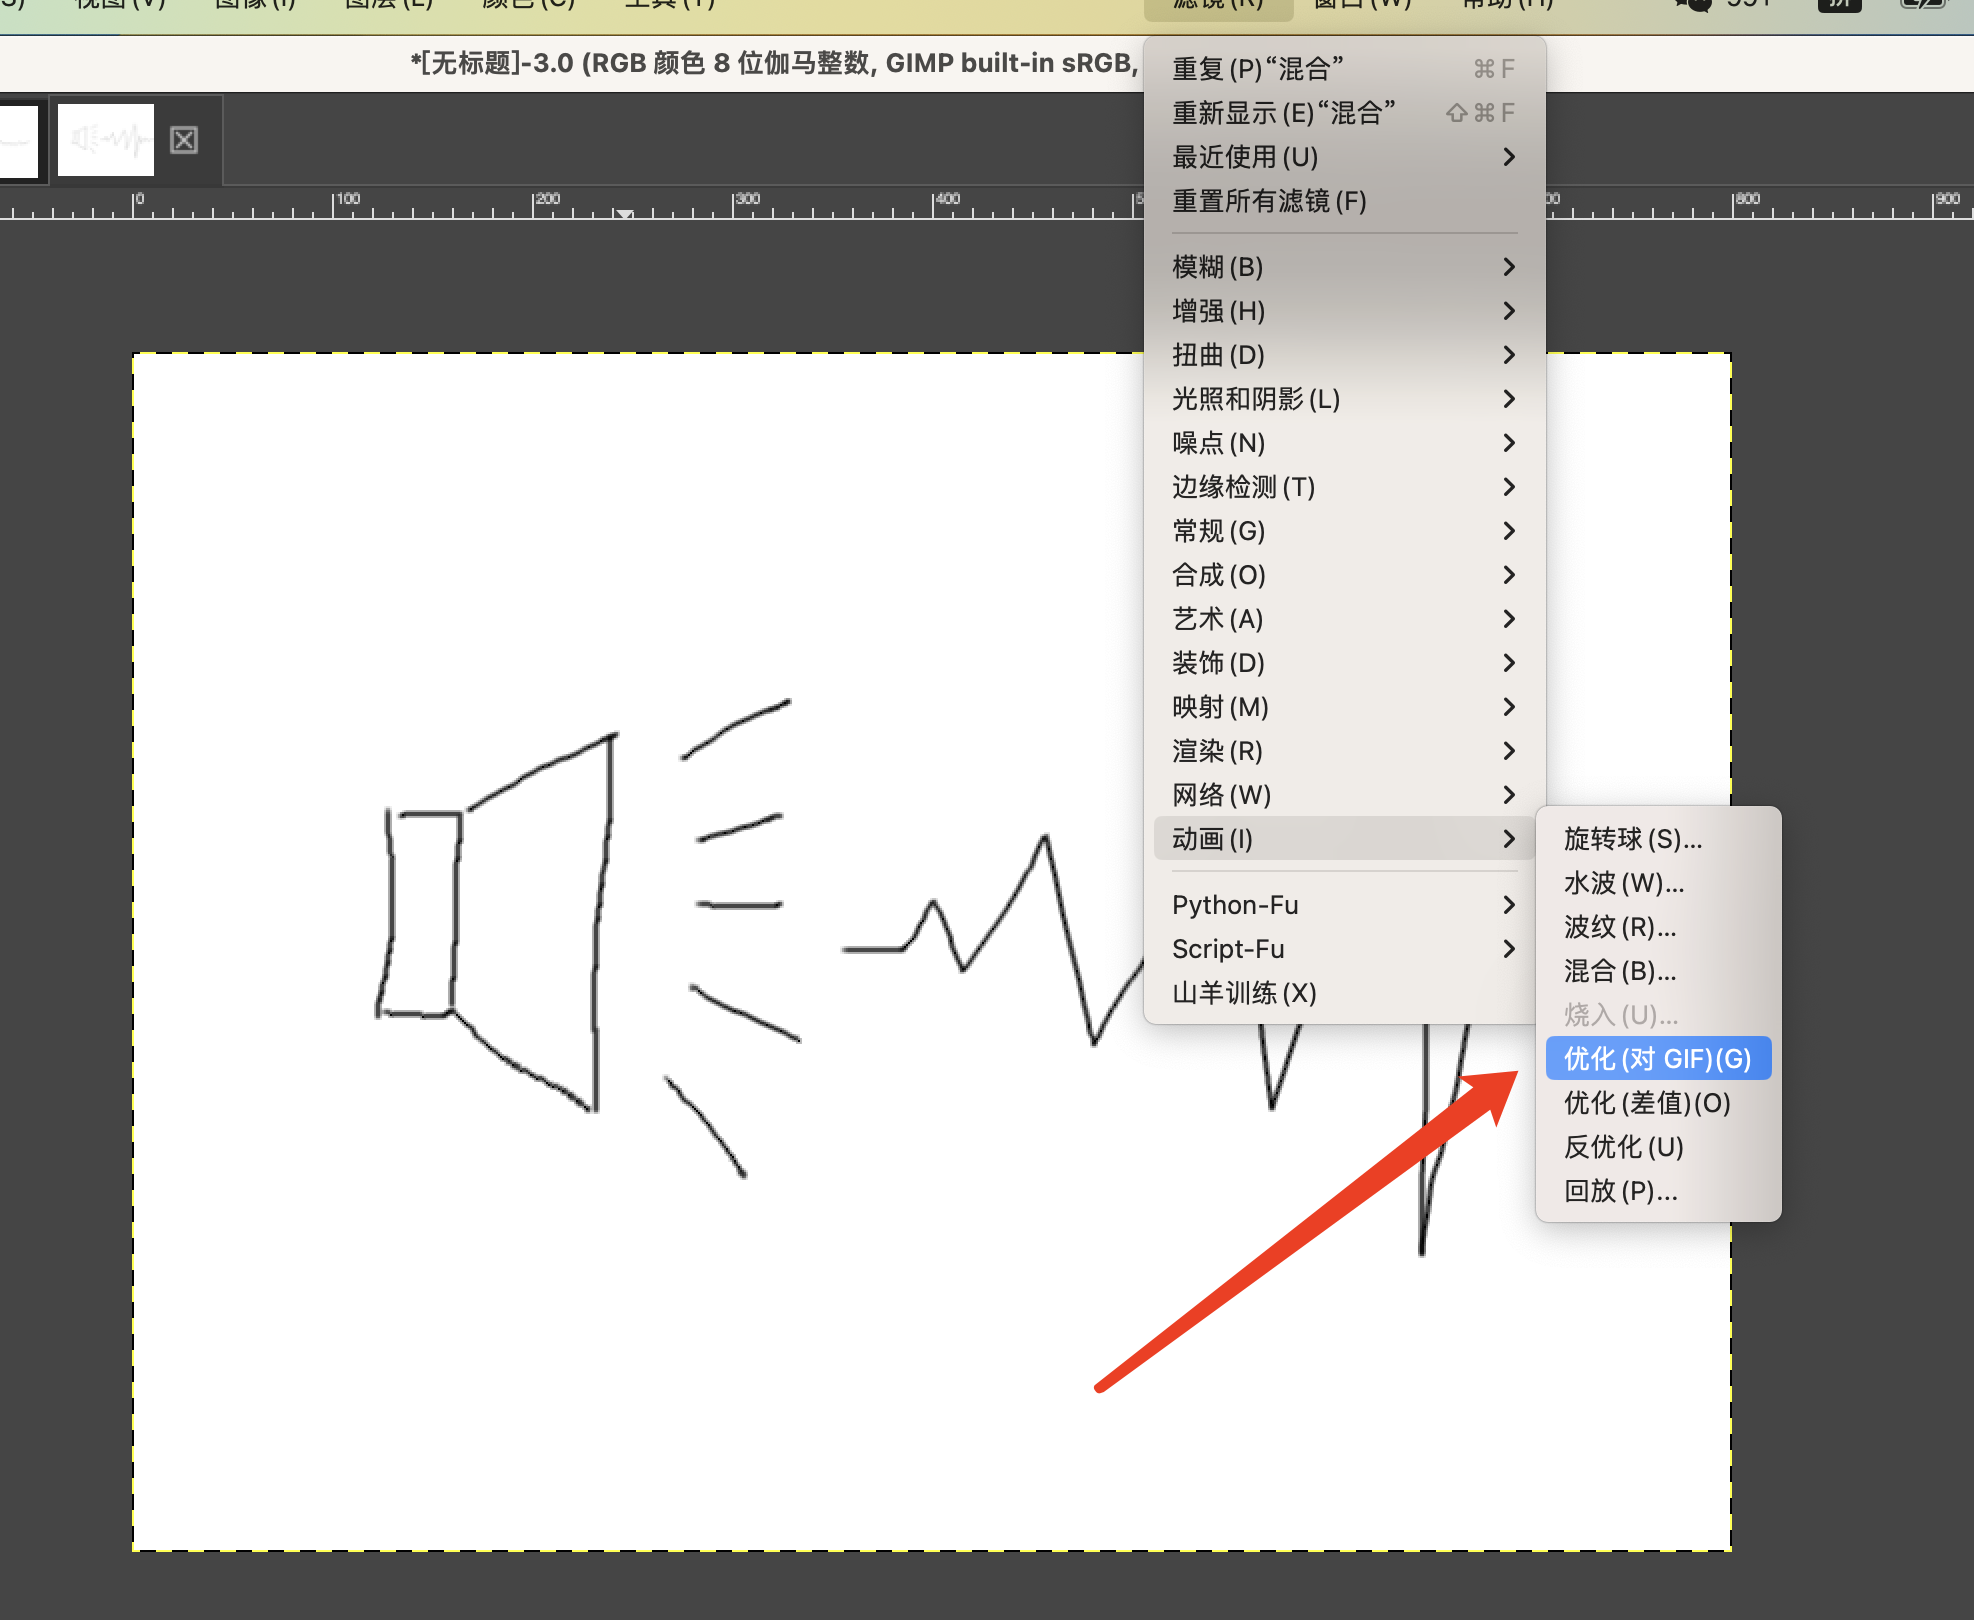
6.Test My GIF
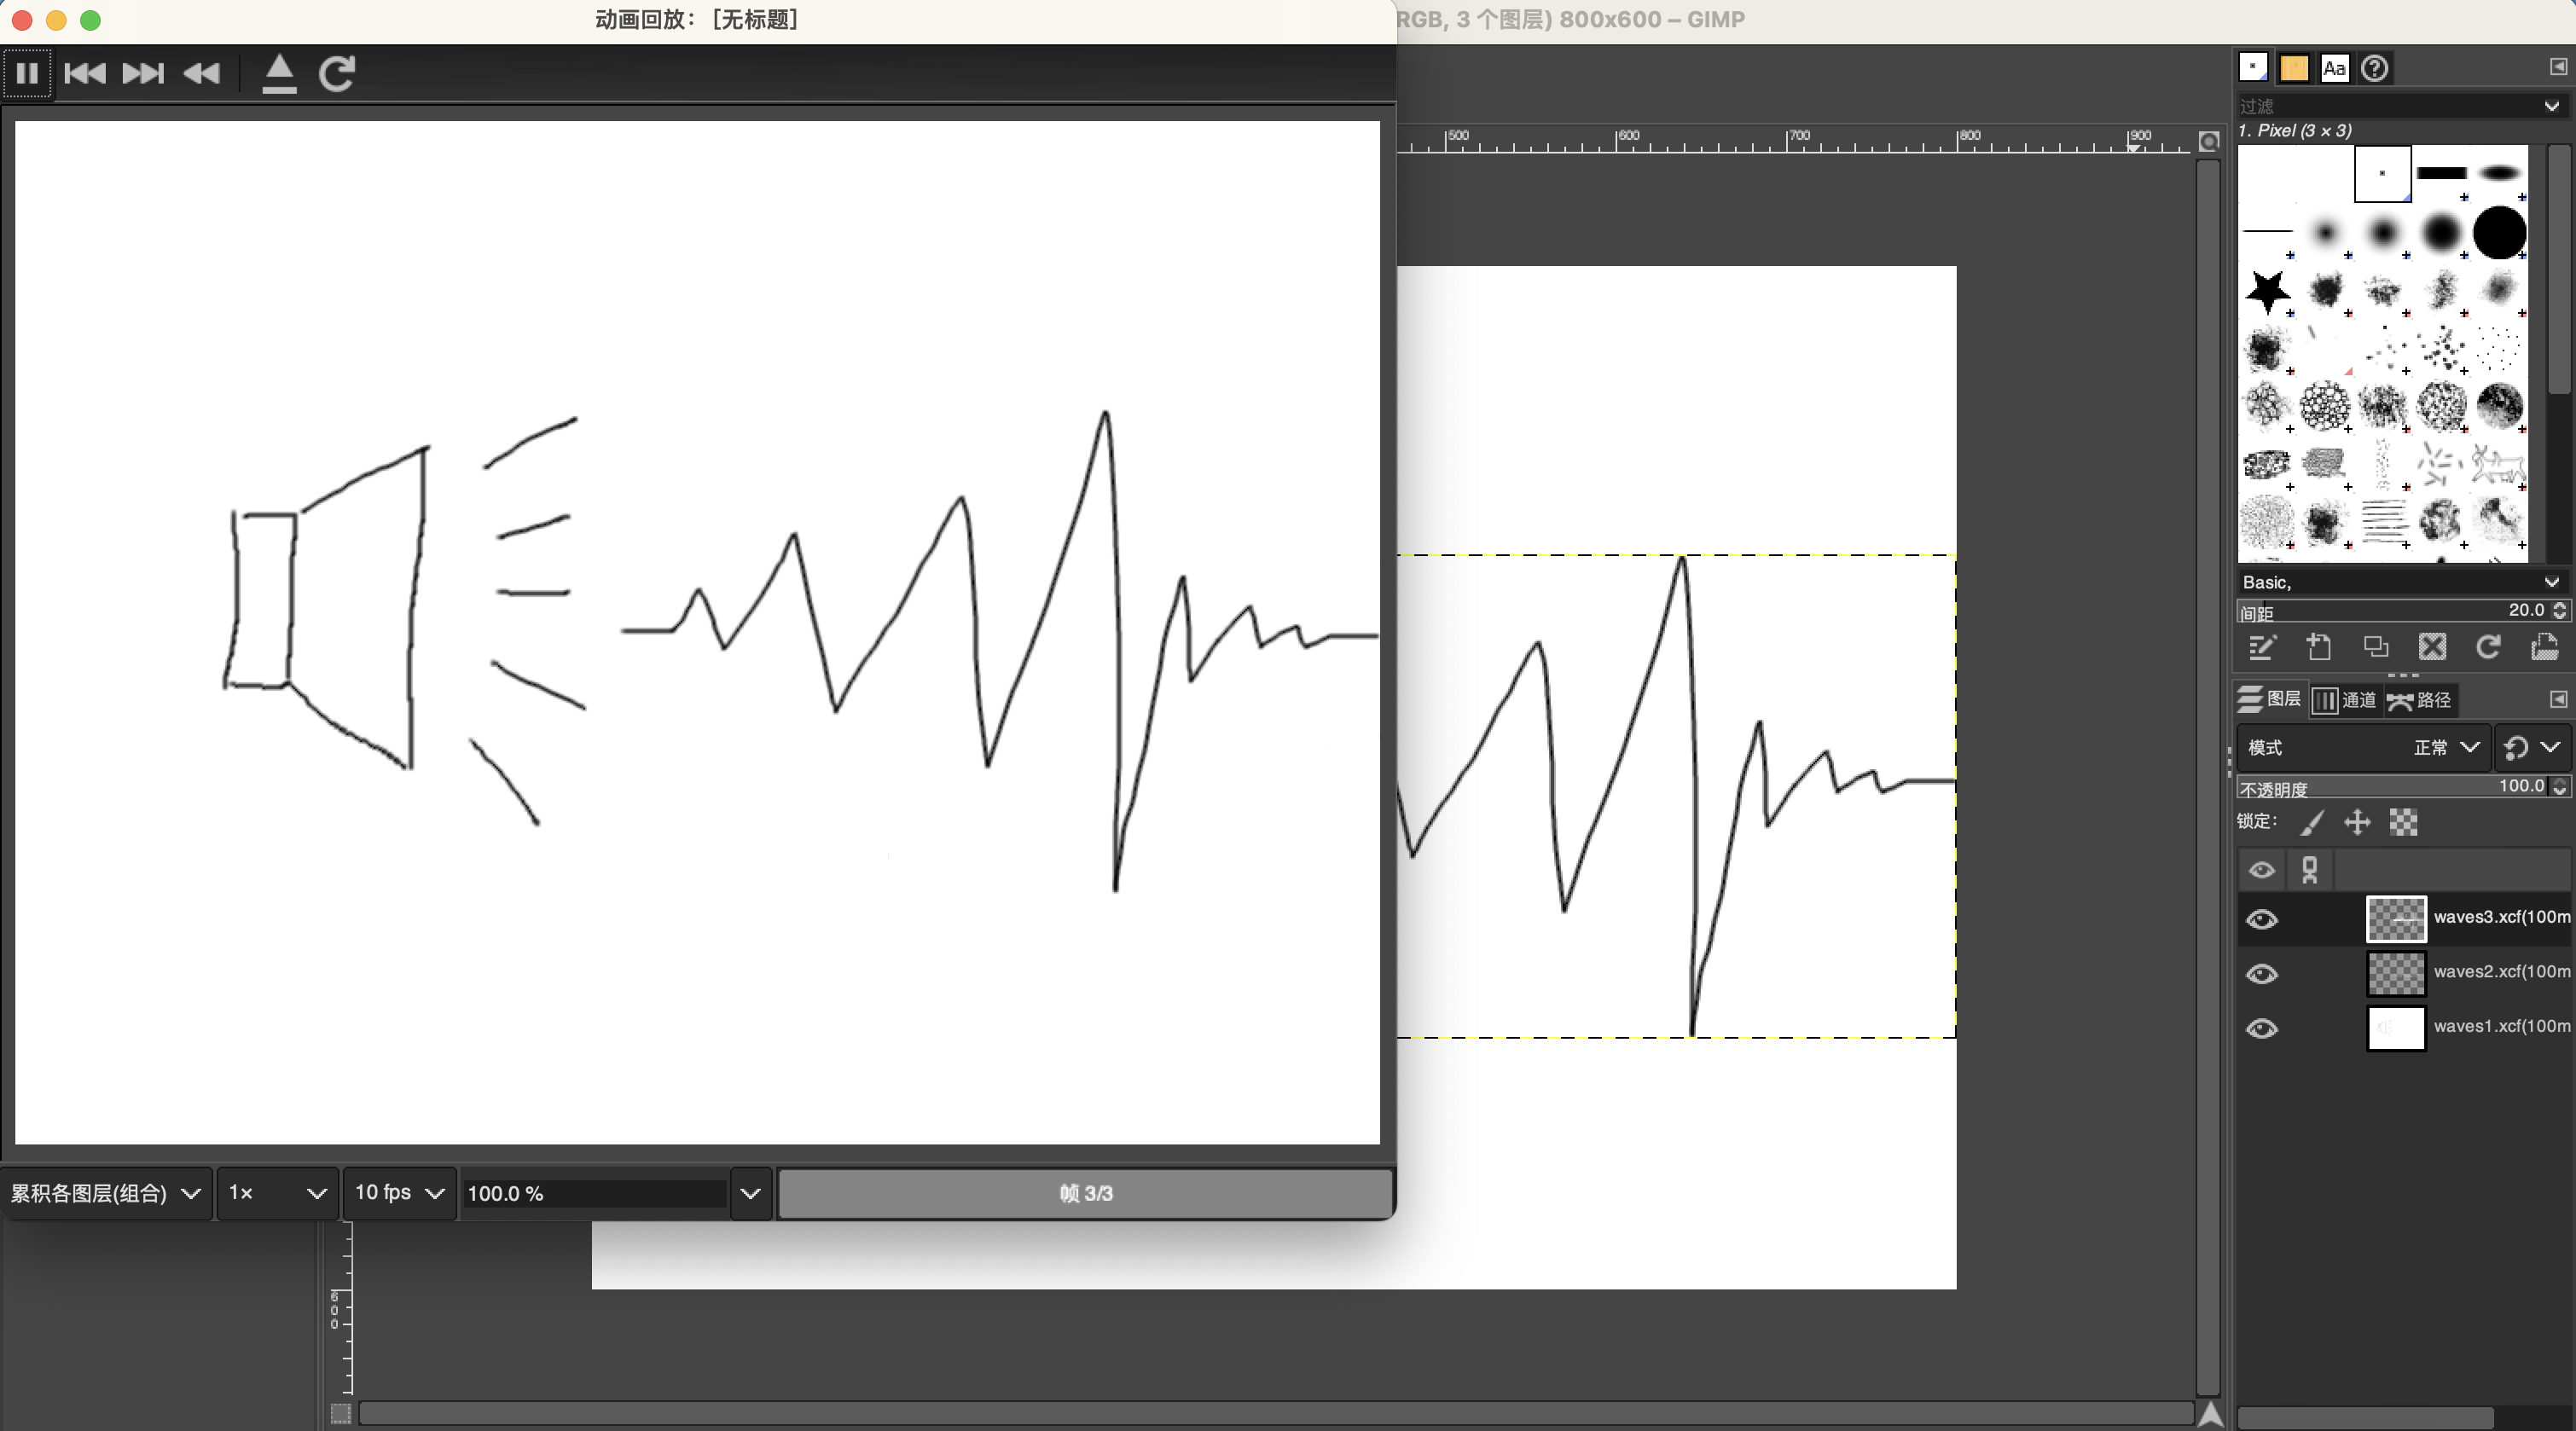
7.Generate My GIF File Output

2D-Vector-Inkscape
1.Install Inkscape in your computer
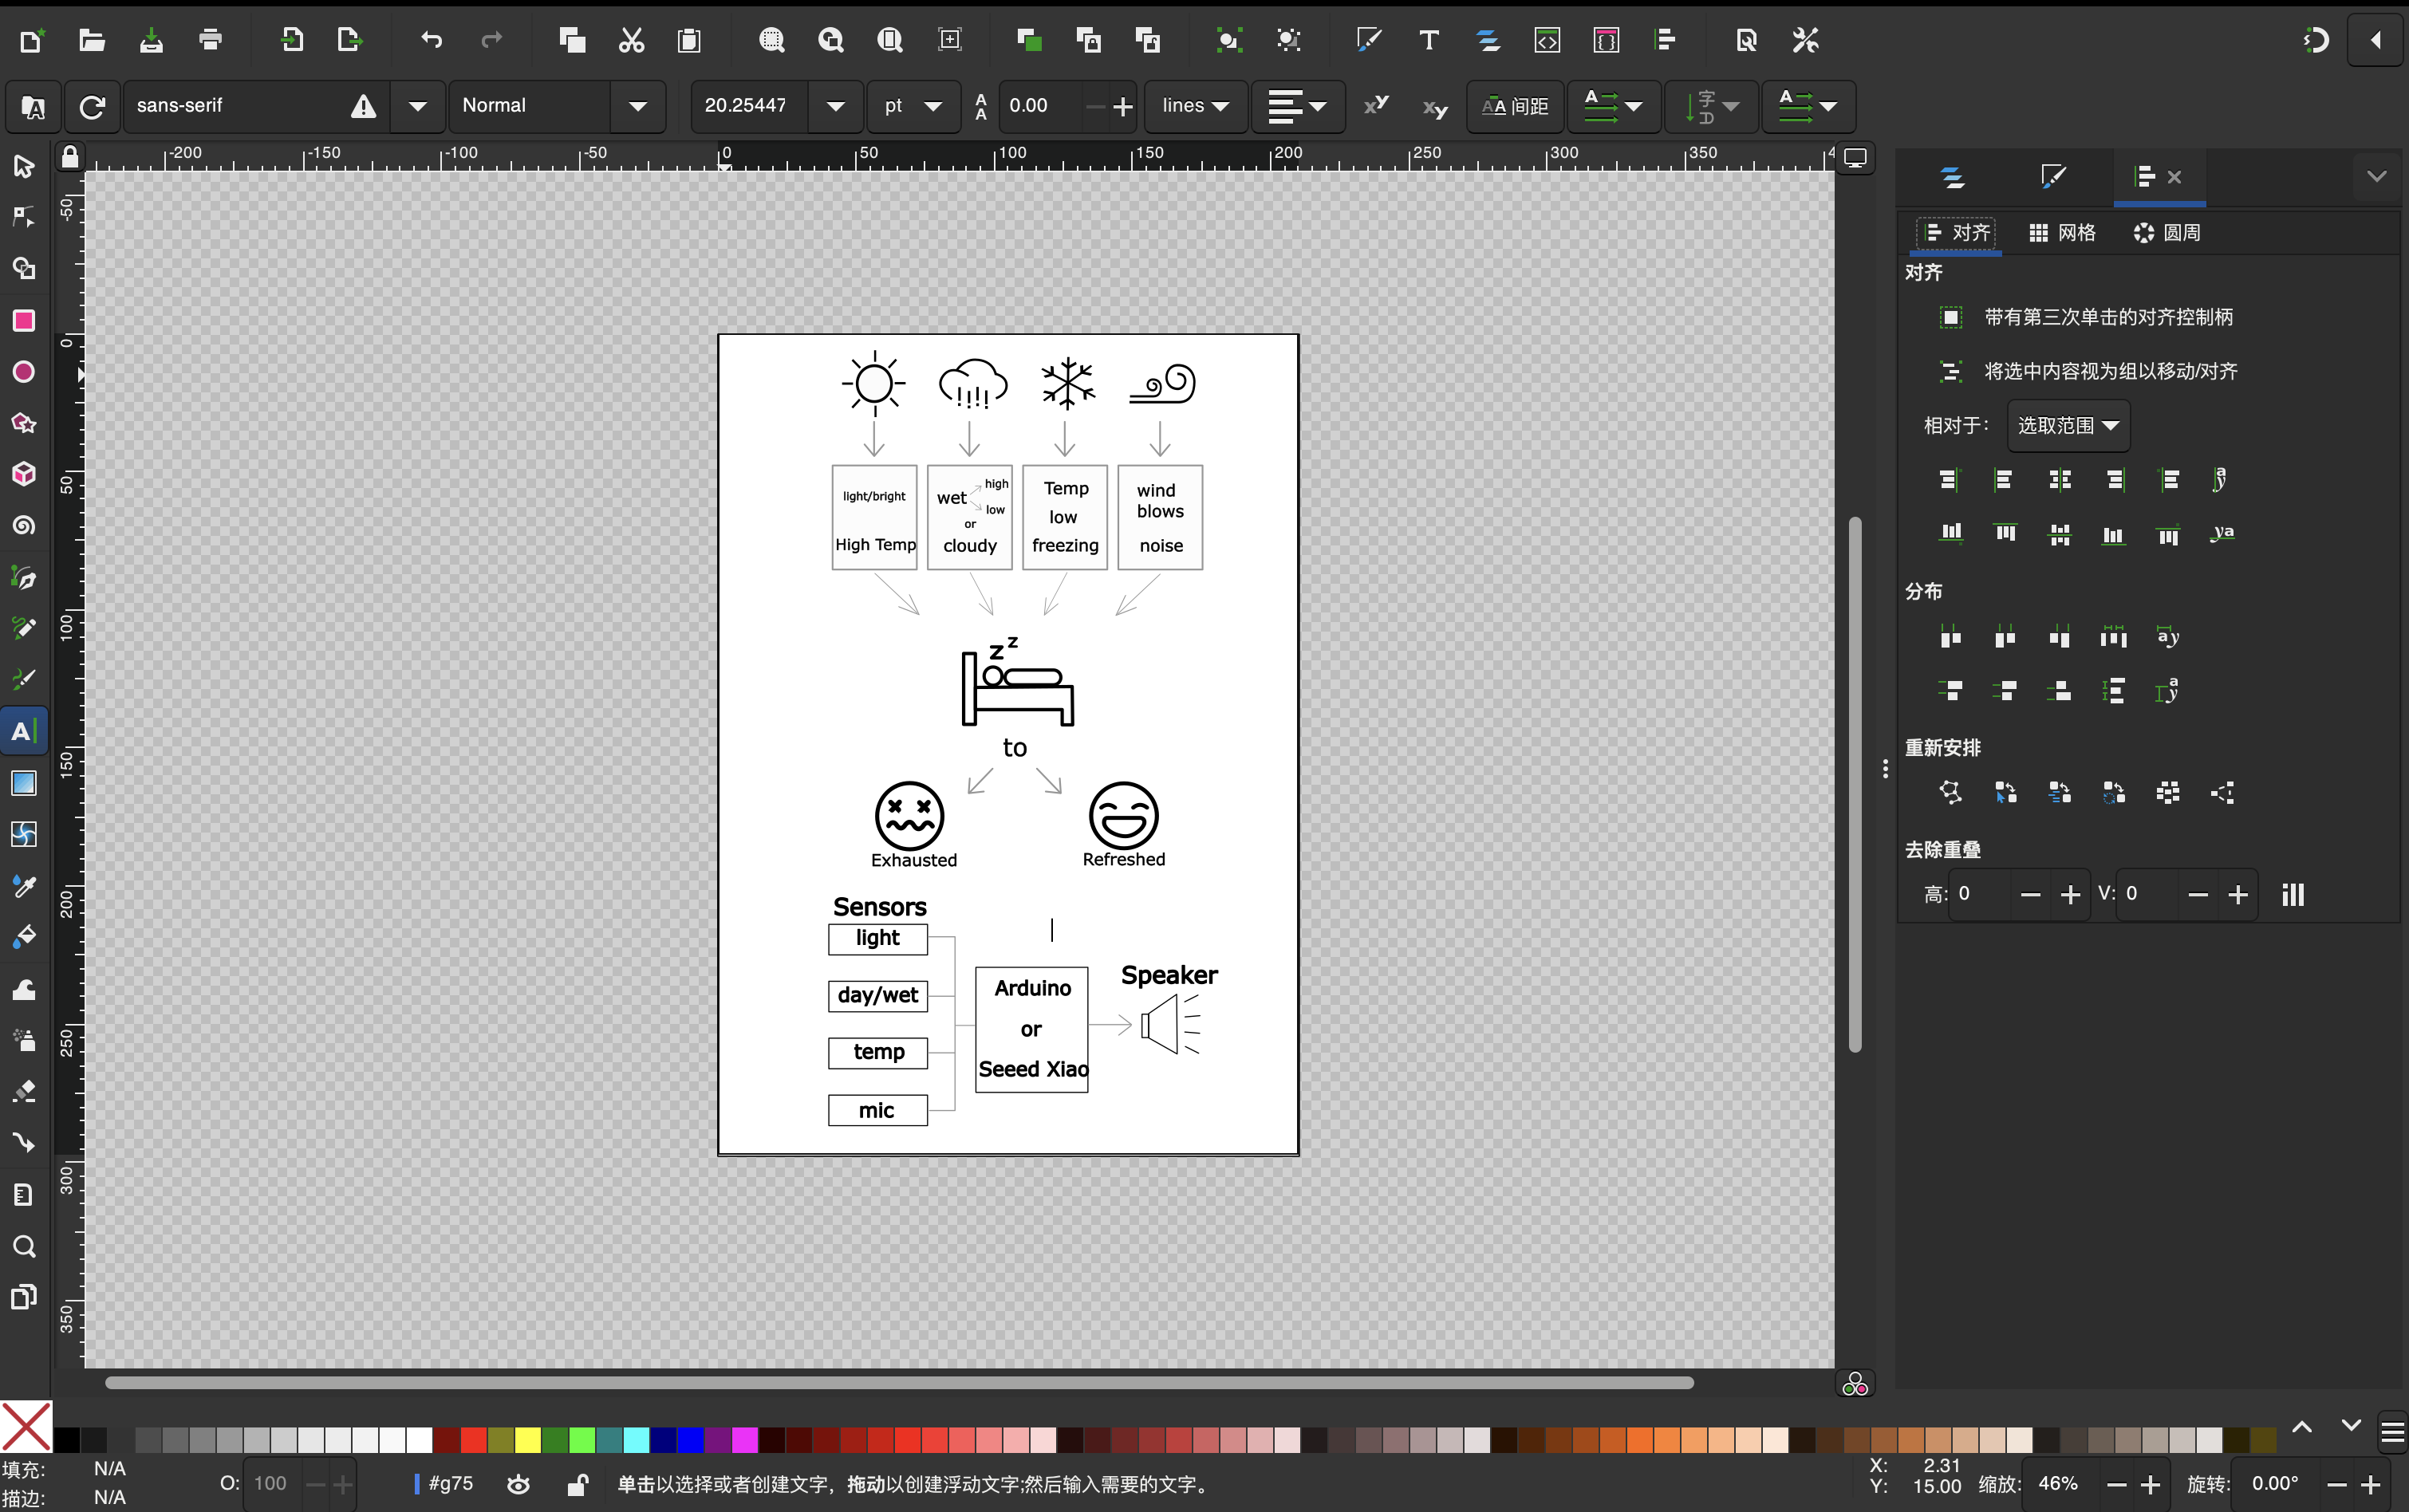
2.Try to draw the Project idea page.
3.Put out the PNG of my project idea

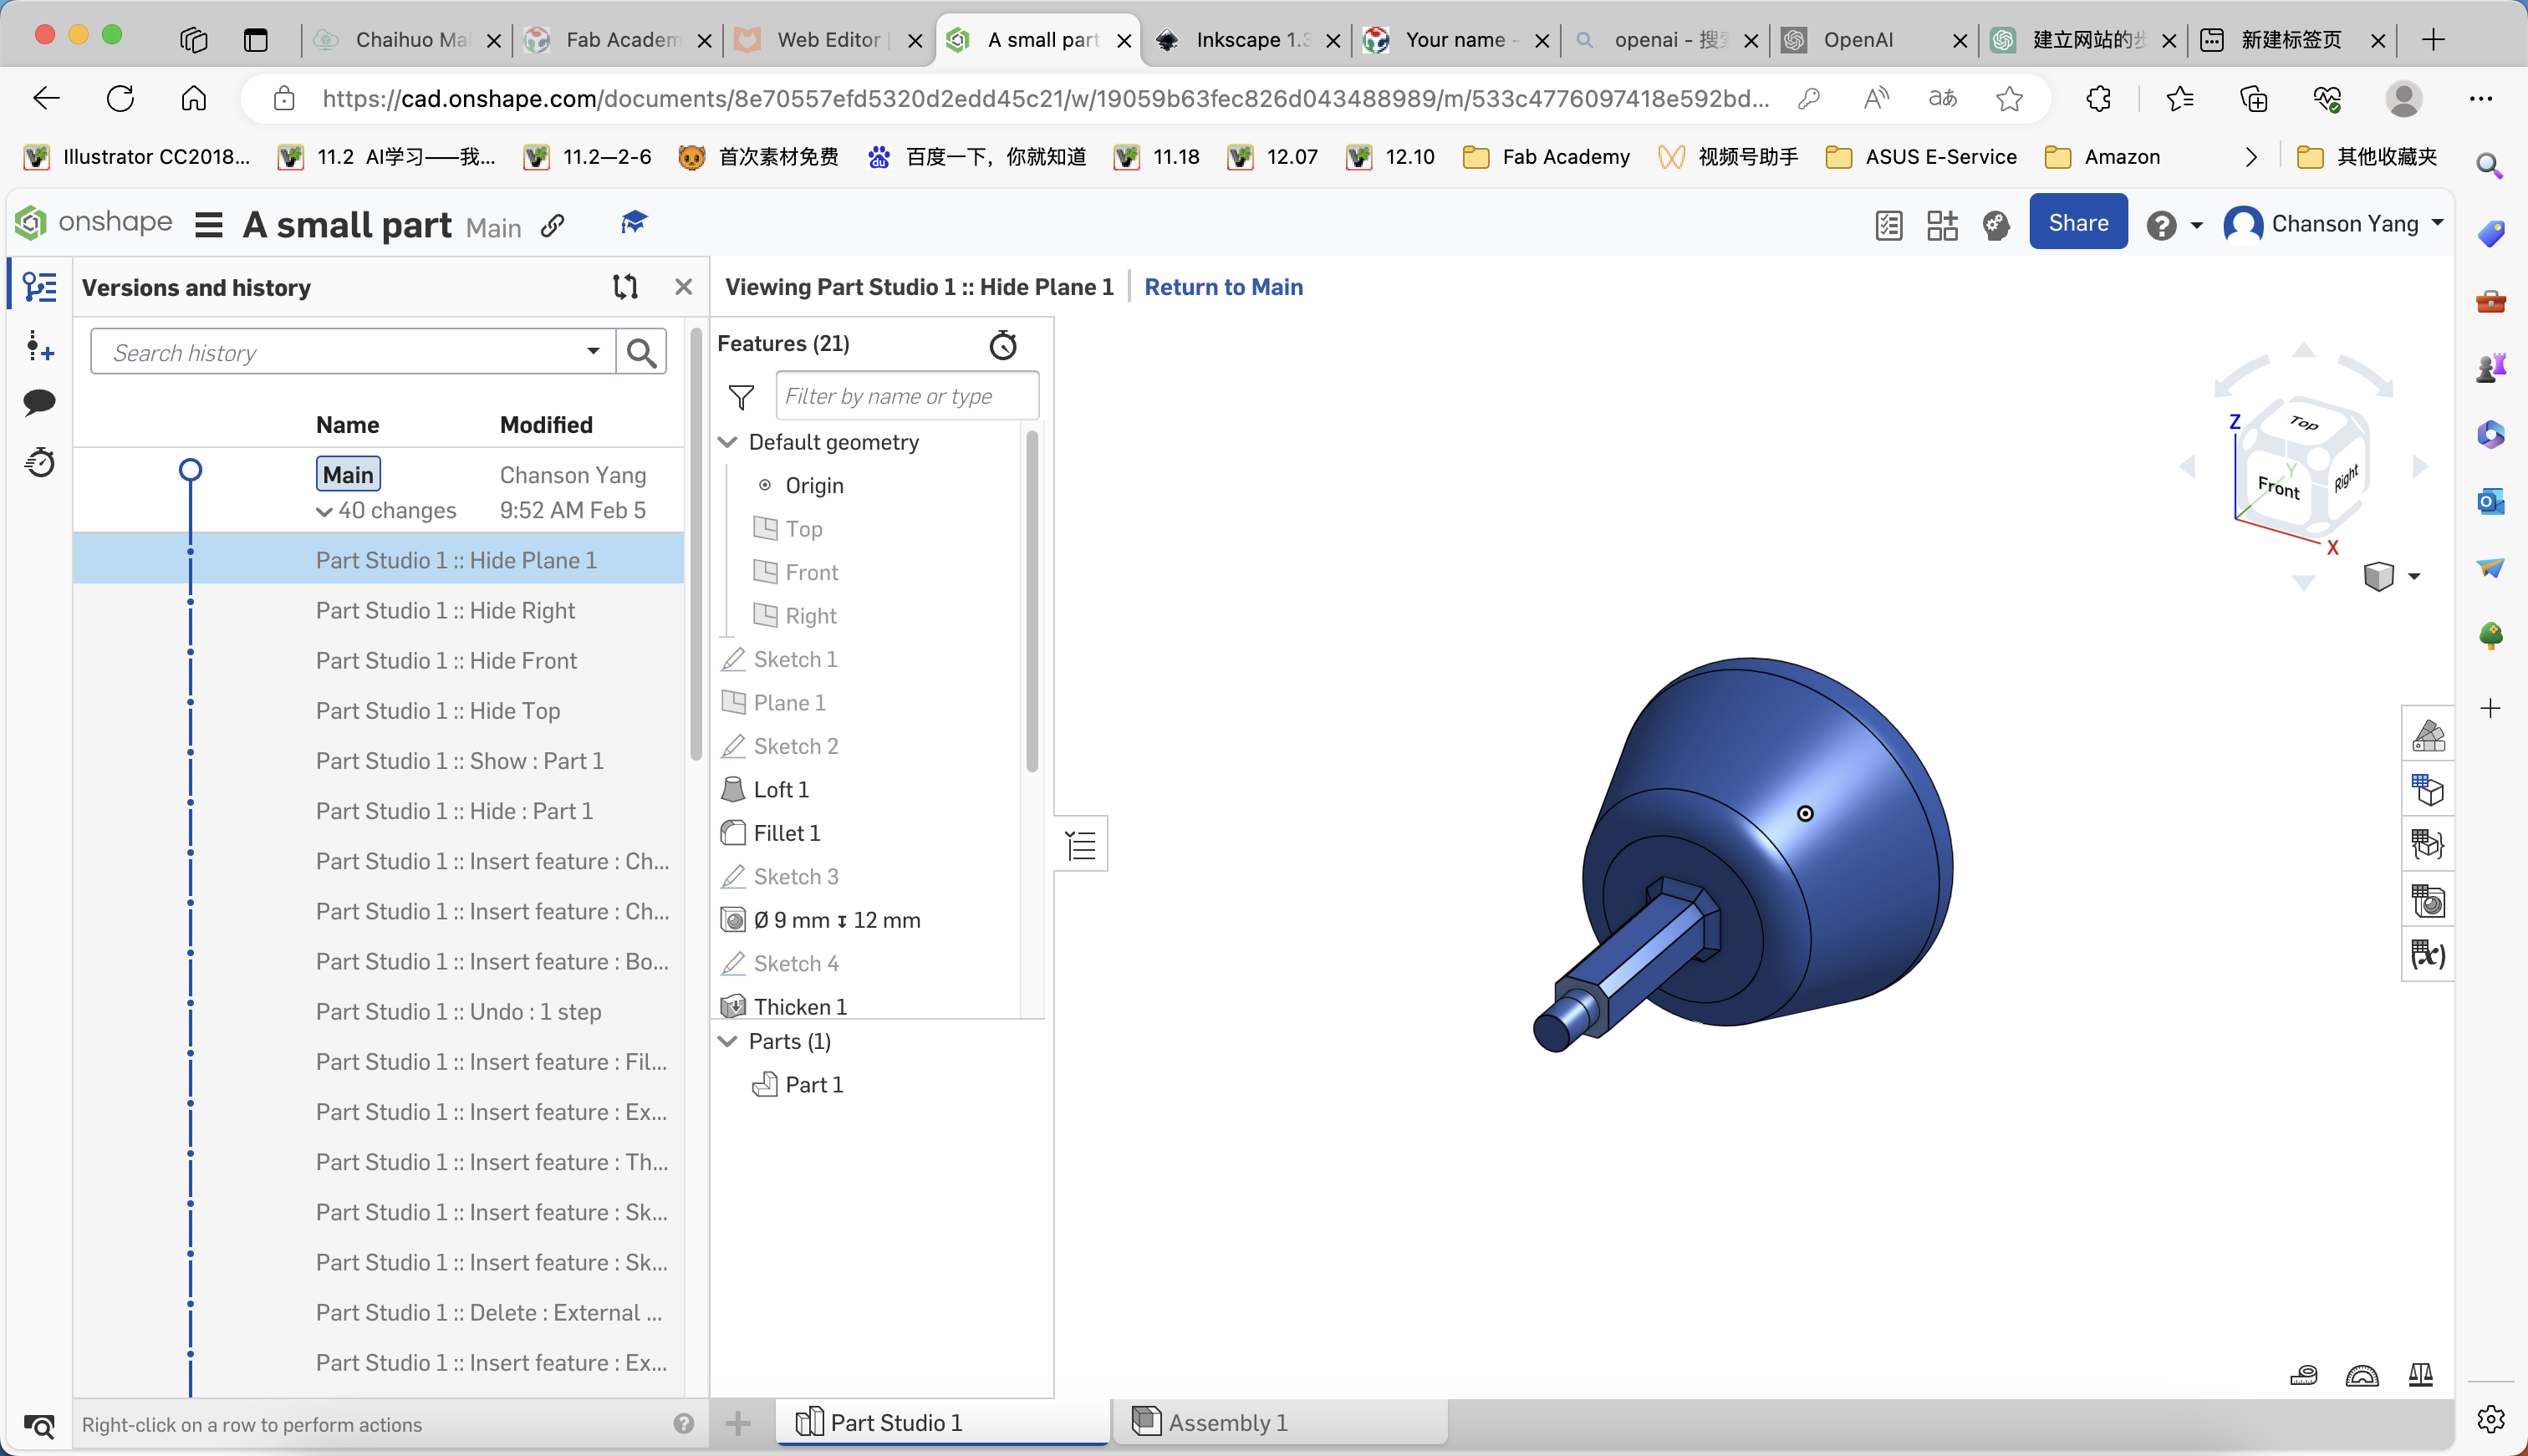
3D-design-Onshape
1.Open Onshape and select a sketch plane from a specific viewpoint, then draw a circle.
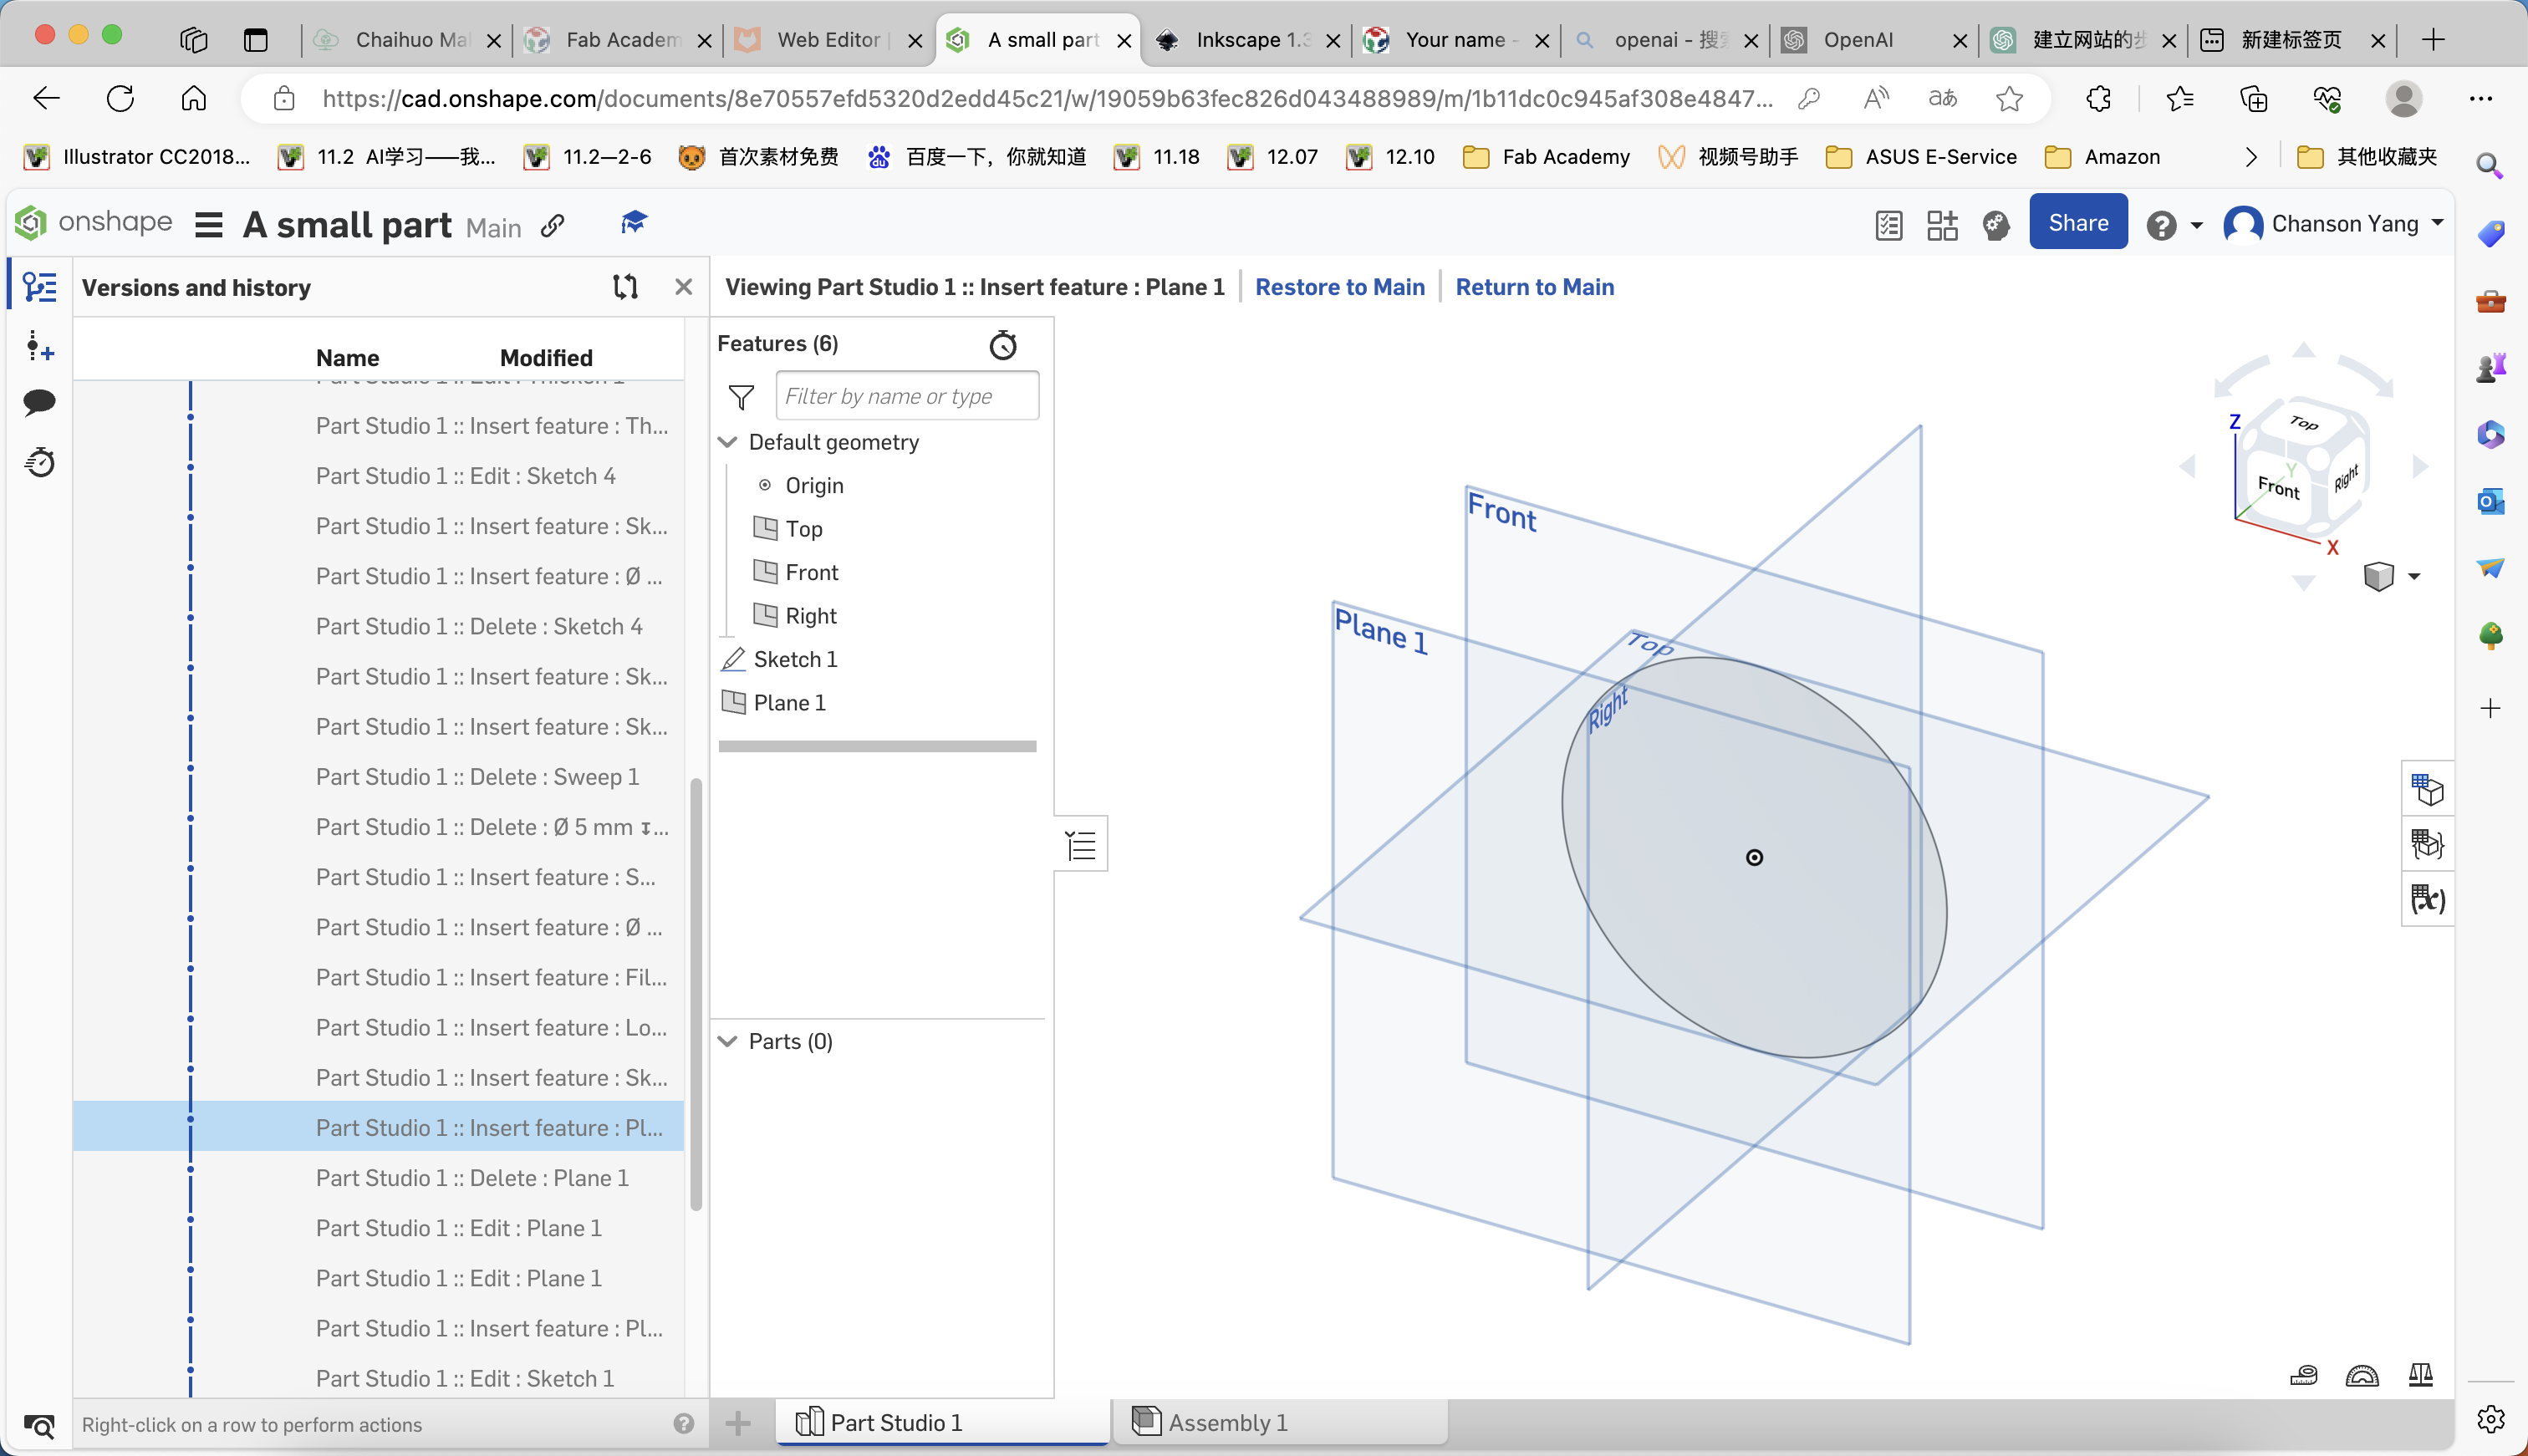
2.Create Solid

3.On the surface of this smaller circle, create a new cylinder as illustrated in the figure.
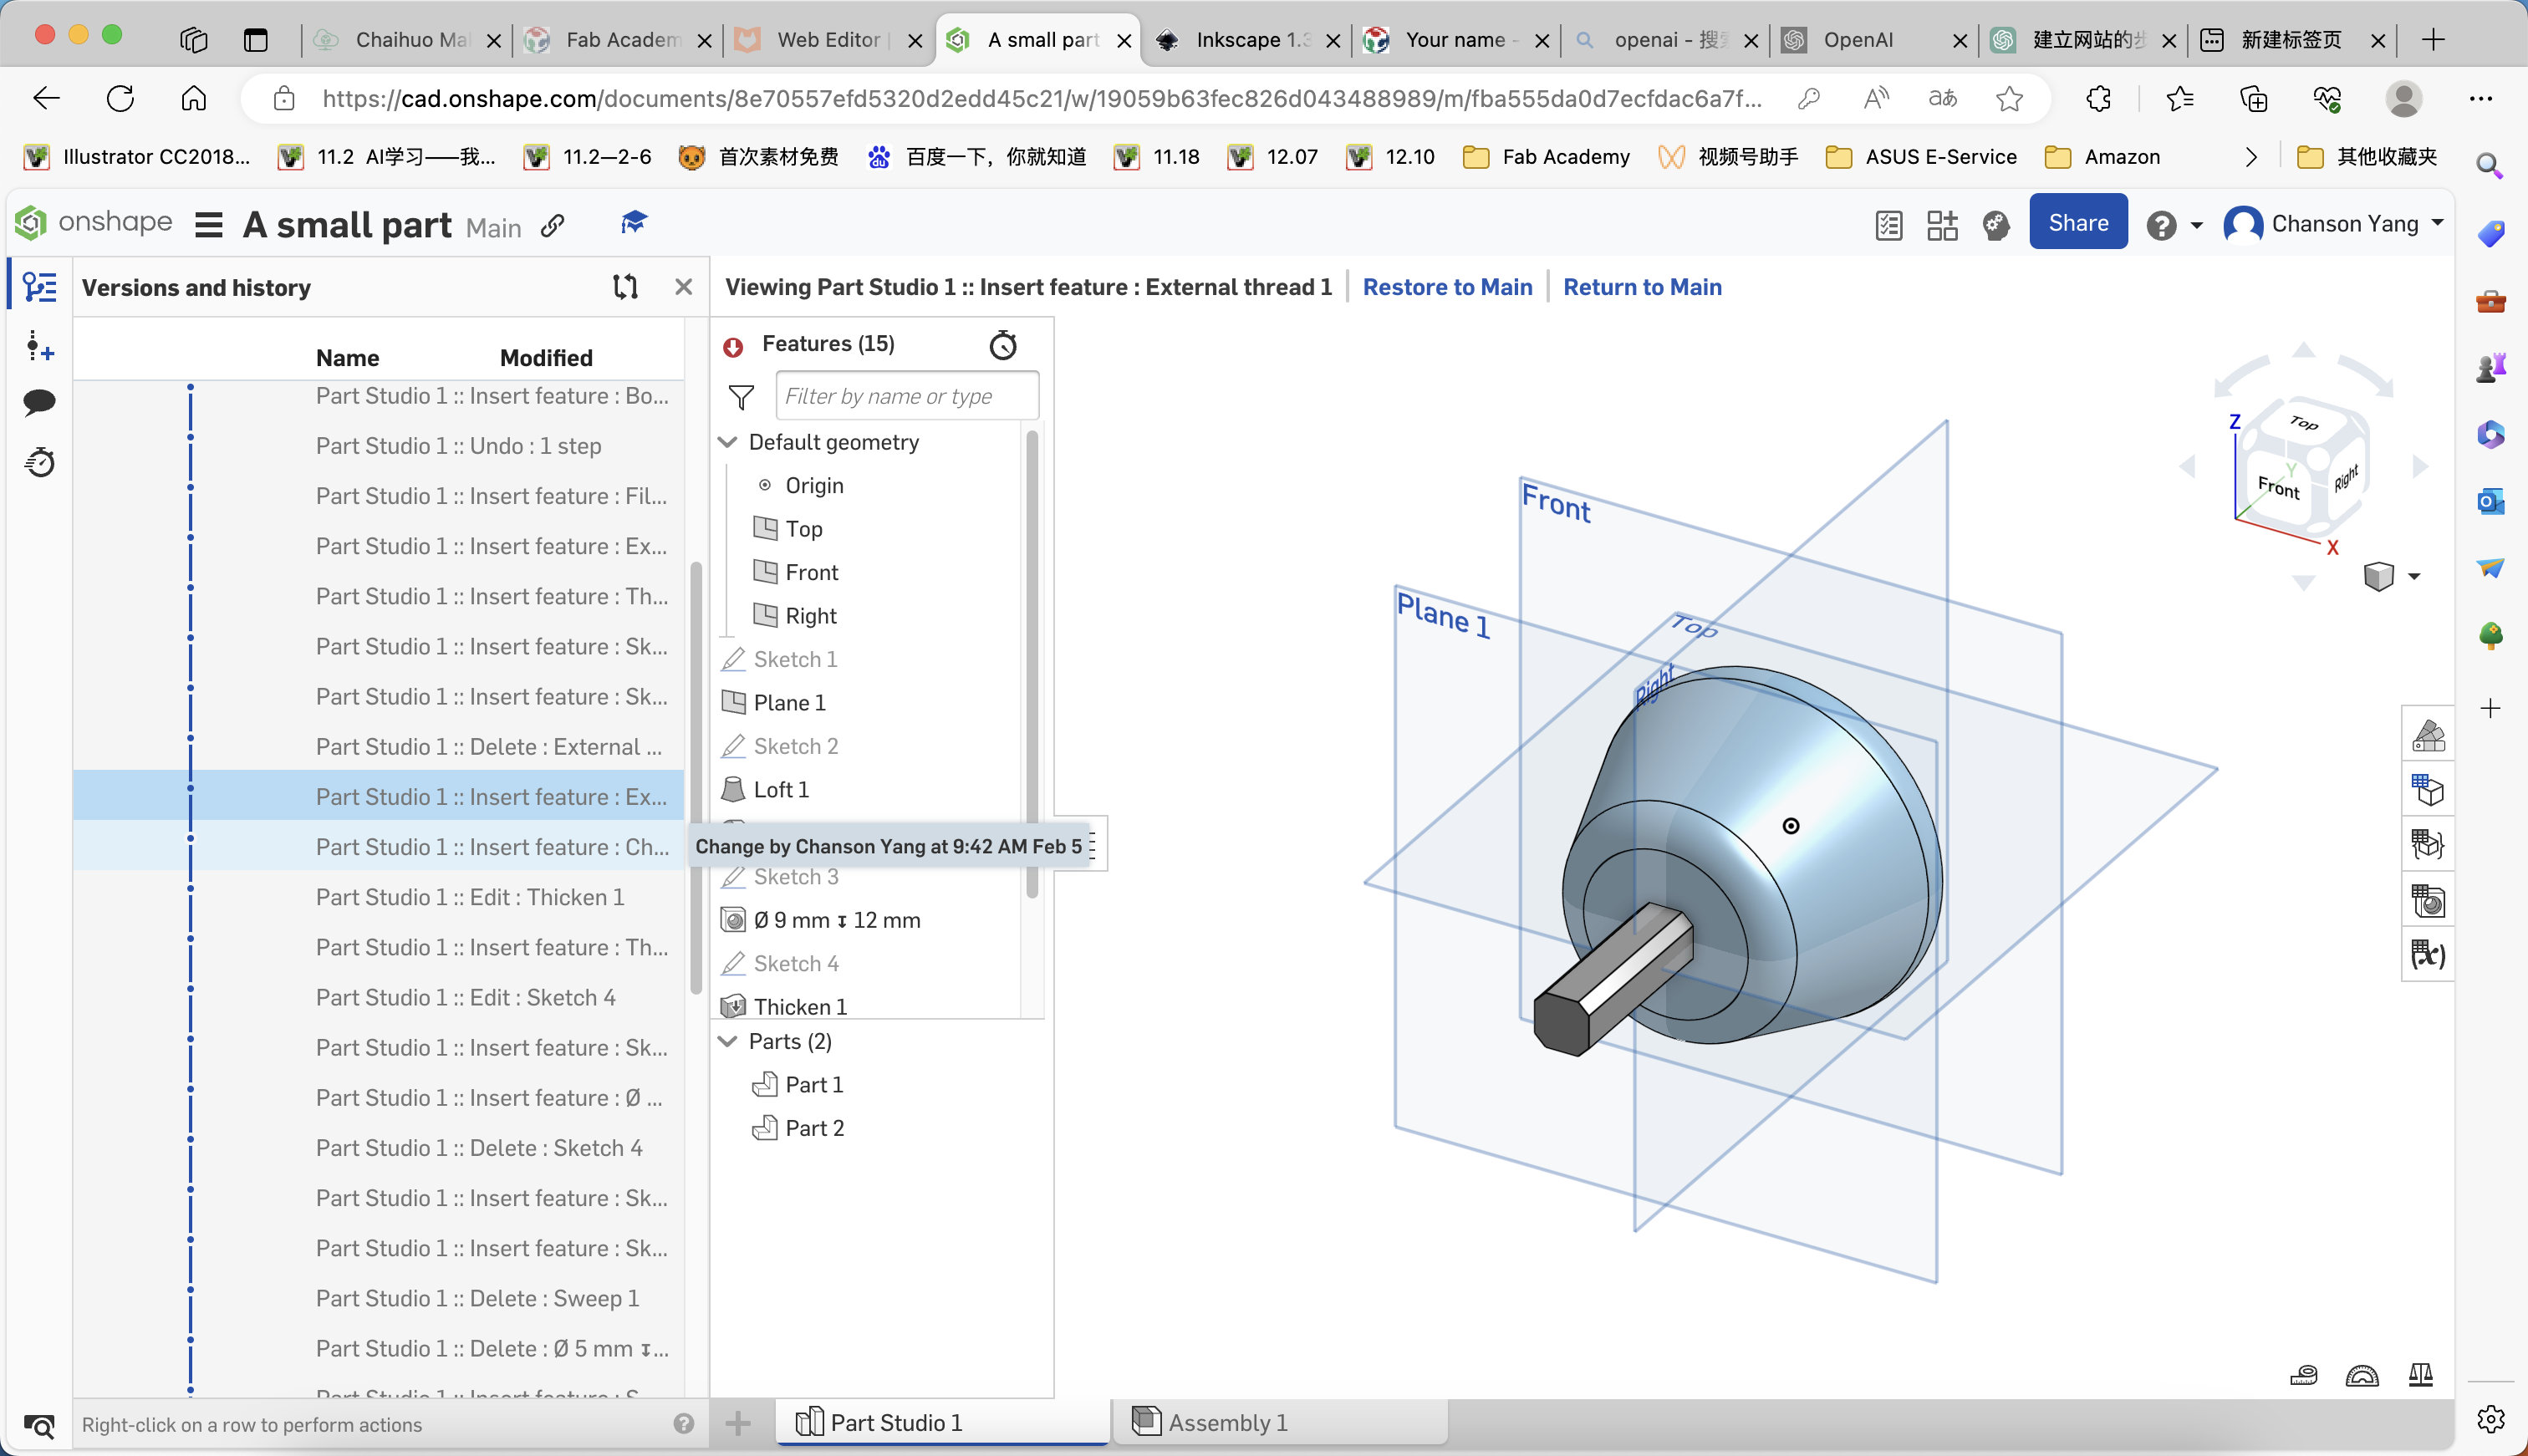
4.Add threads to the top and threaded holes to the bottom of the part.
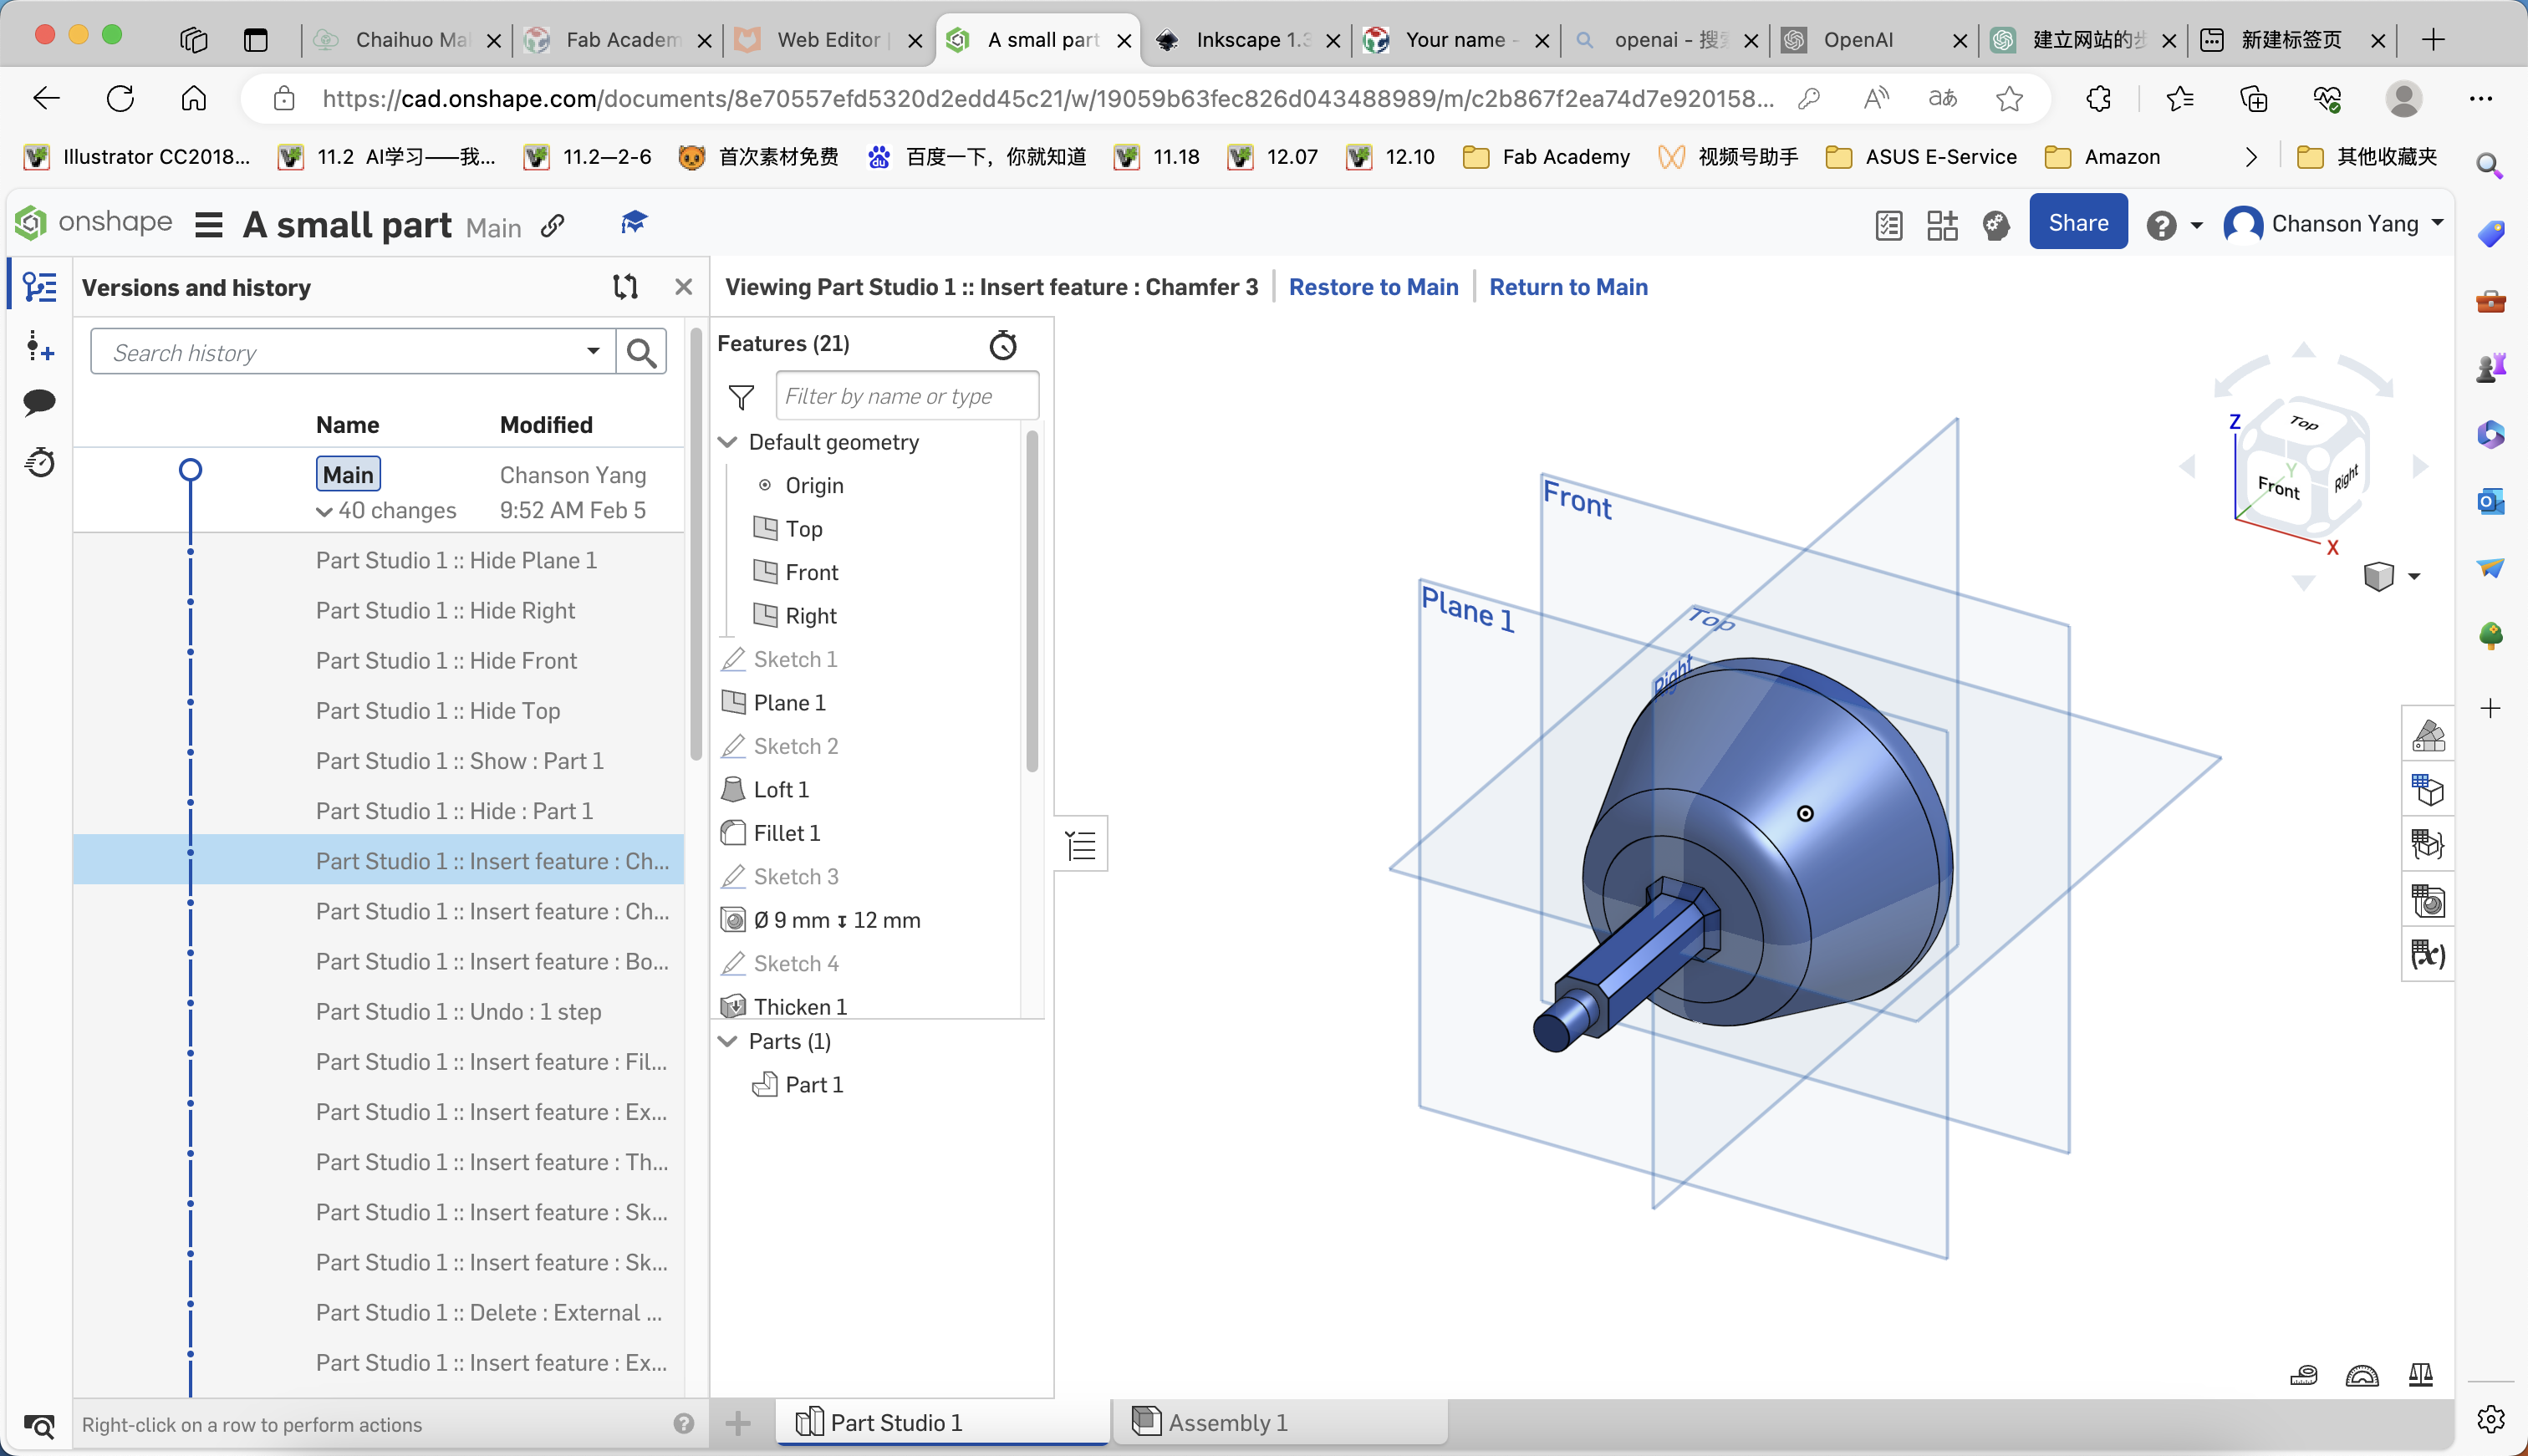
5.Merge all parts to obtain the desired component. Below is the link to the design diagram of this part.
3D-design-Fusion360
I was used Fusion360 before and I like it,so I built a Tank model.LOL.
Ok~ let's see the video!
Detail of the model tank
tank by chenxin-yang on Sketchfab
Sketch of Final Project
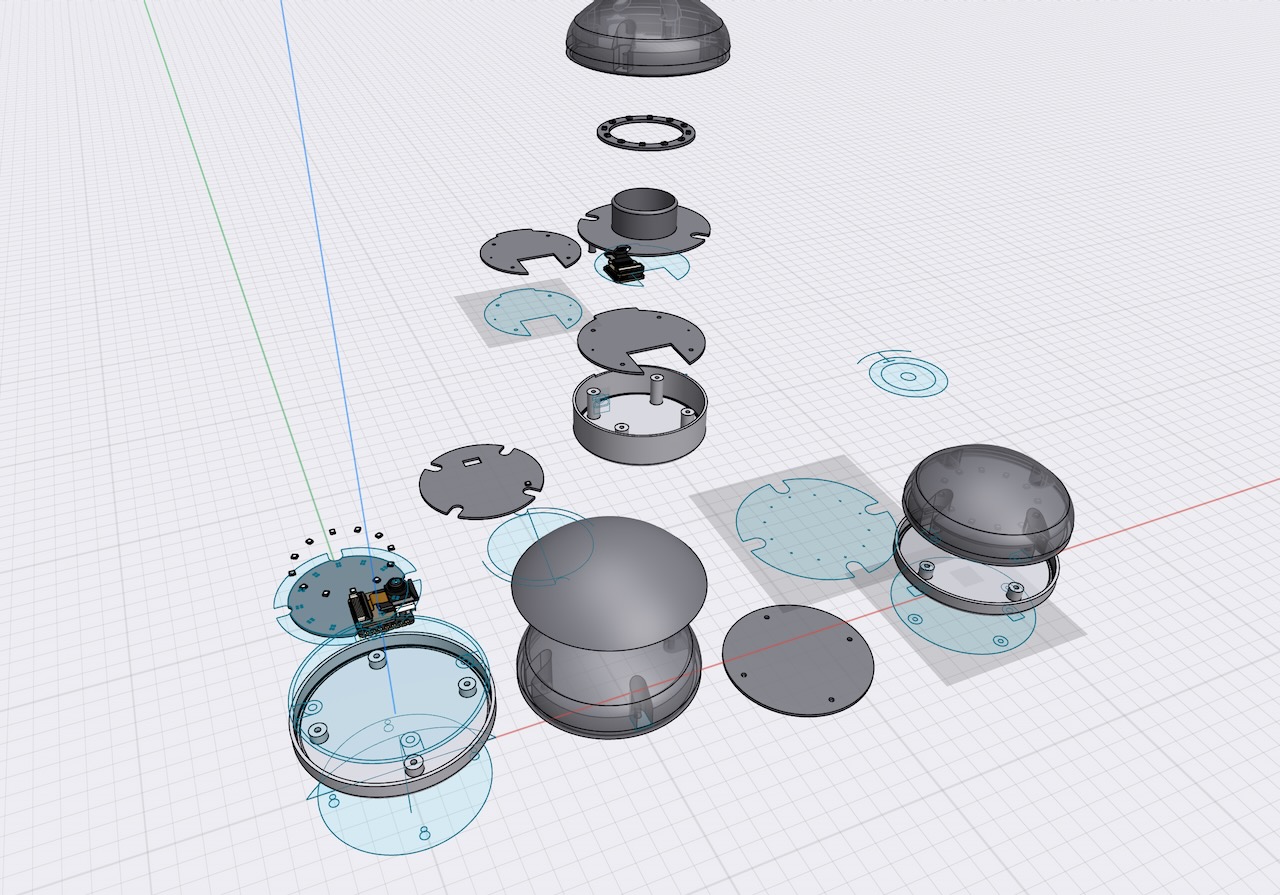
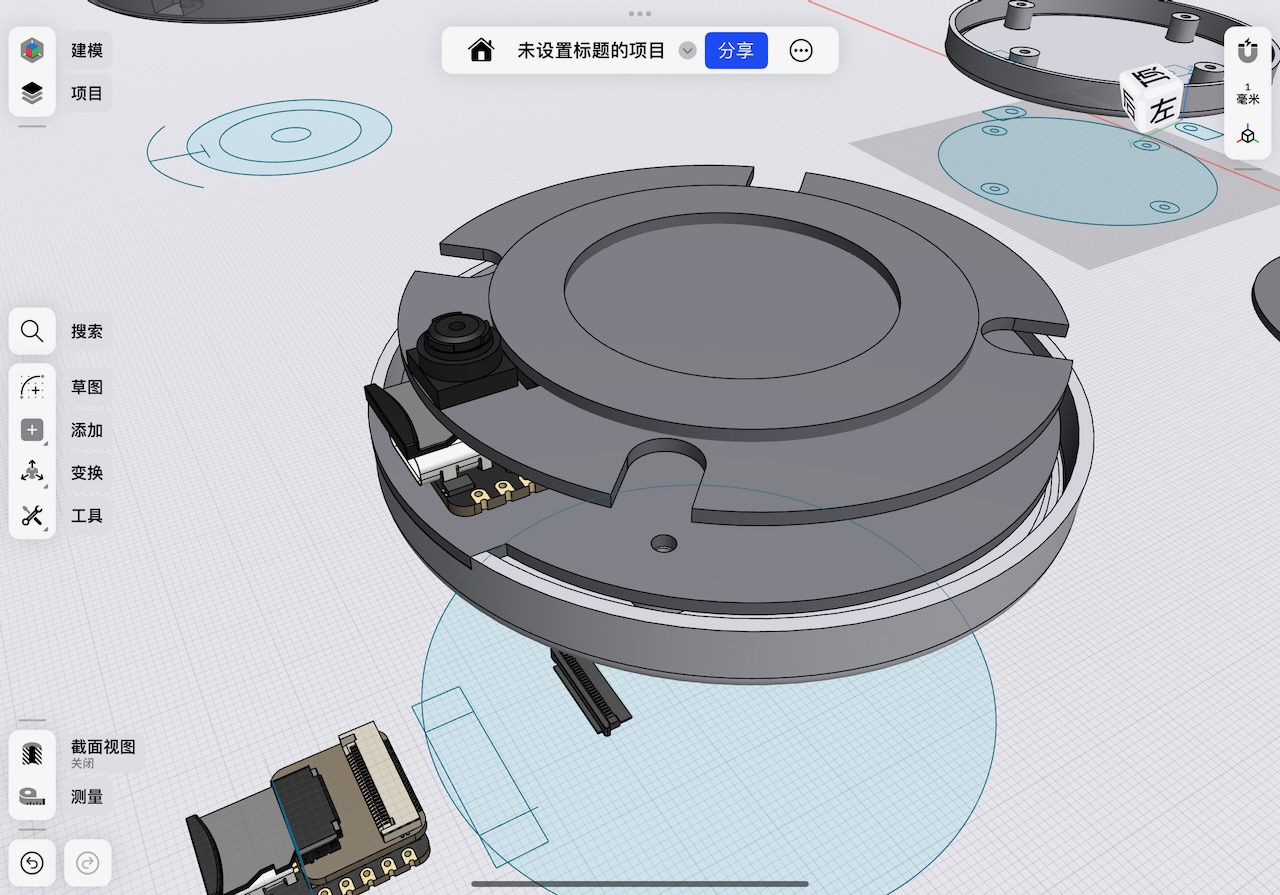
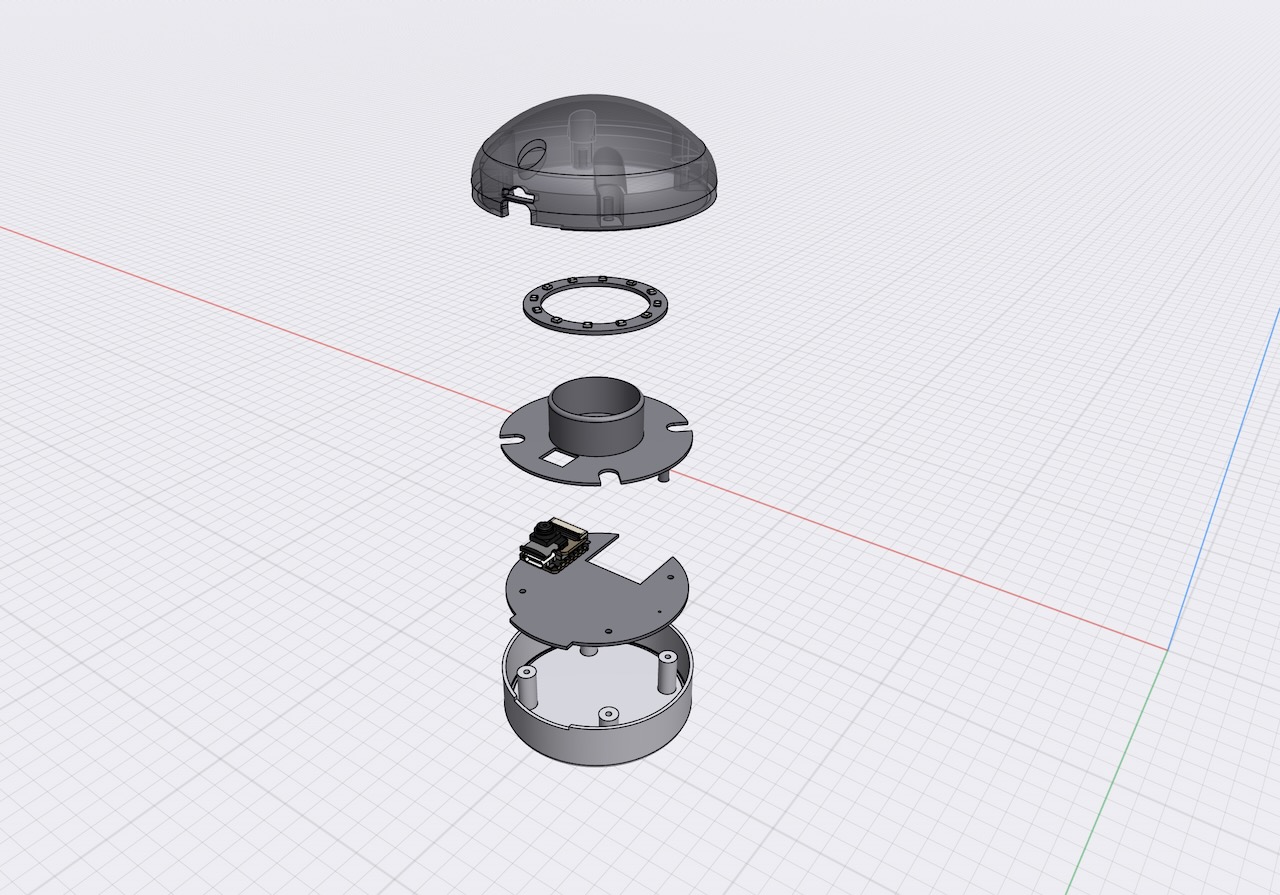
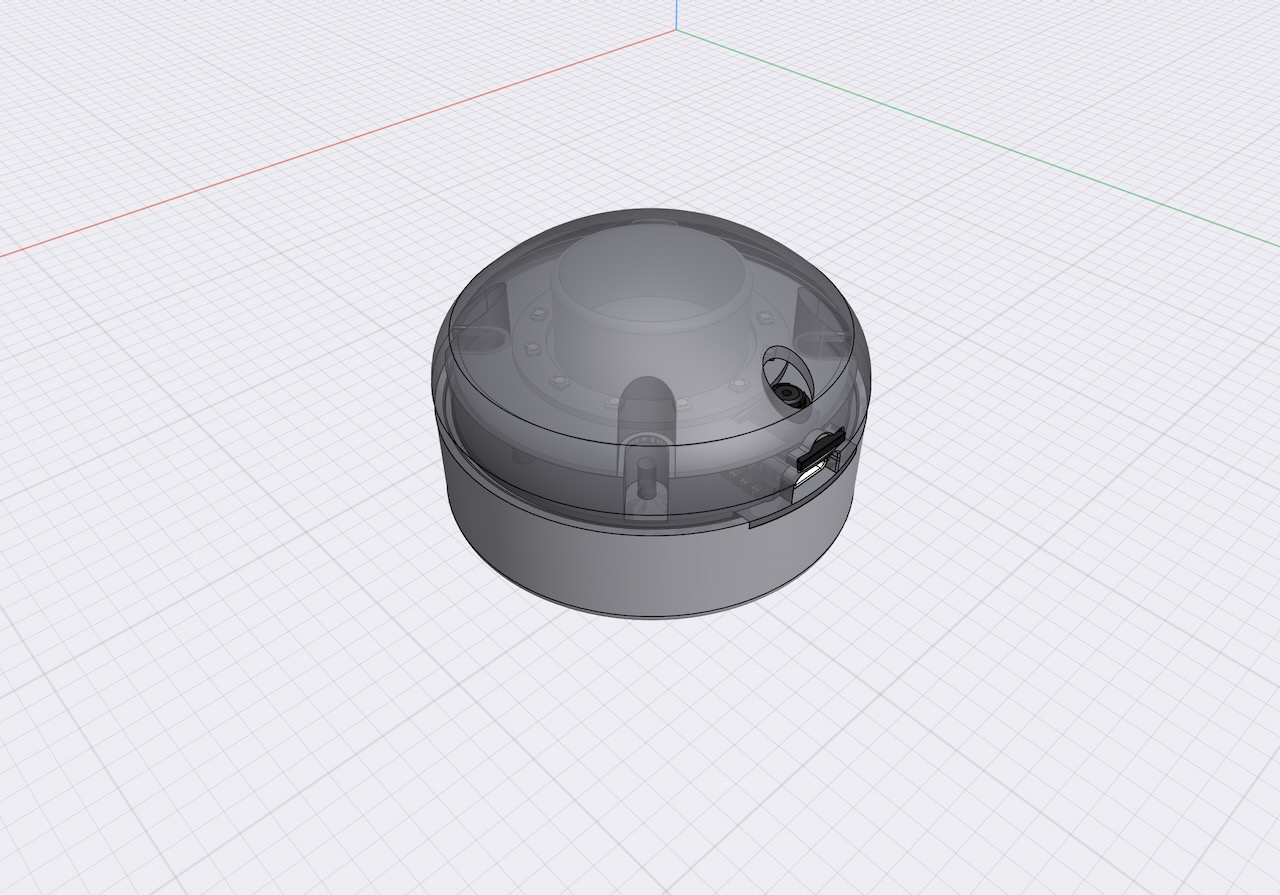
Now it's time to show the design of my final project:"Dao Clock"
It includes three parts:
Shapr3D is a software that allows users to create 3D models and animations using a drag-and-drop interface.
It is available for Windows, Mac, and Linux operating systems.
I downloaded the software from the iTunes store and installed it on my iPad.
It very easy to use and has a lot of features, including a 3D model editor, a path editor, and a rendering engine.
I just use my apple pencil to draw the designs and export them as DXF files.
Based on the dimensions provided by this suction cup, I designed the base and made it fit into my base.
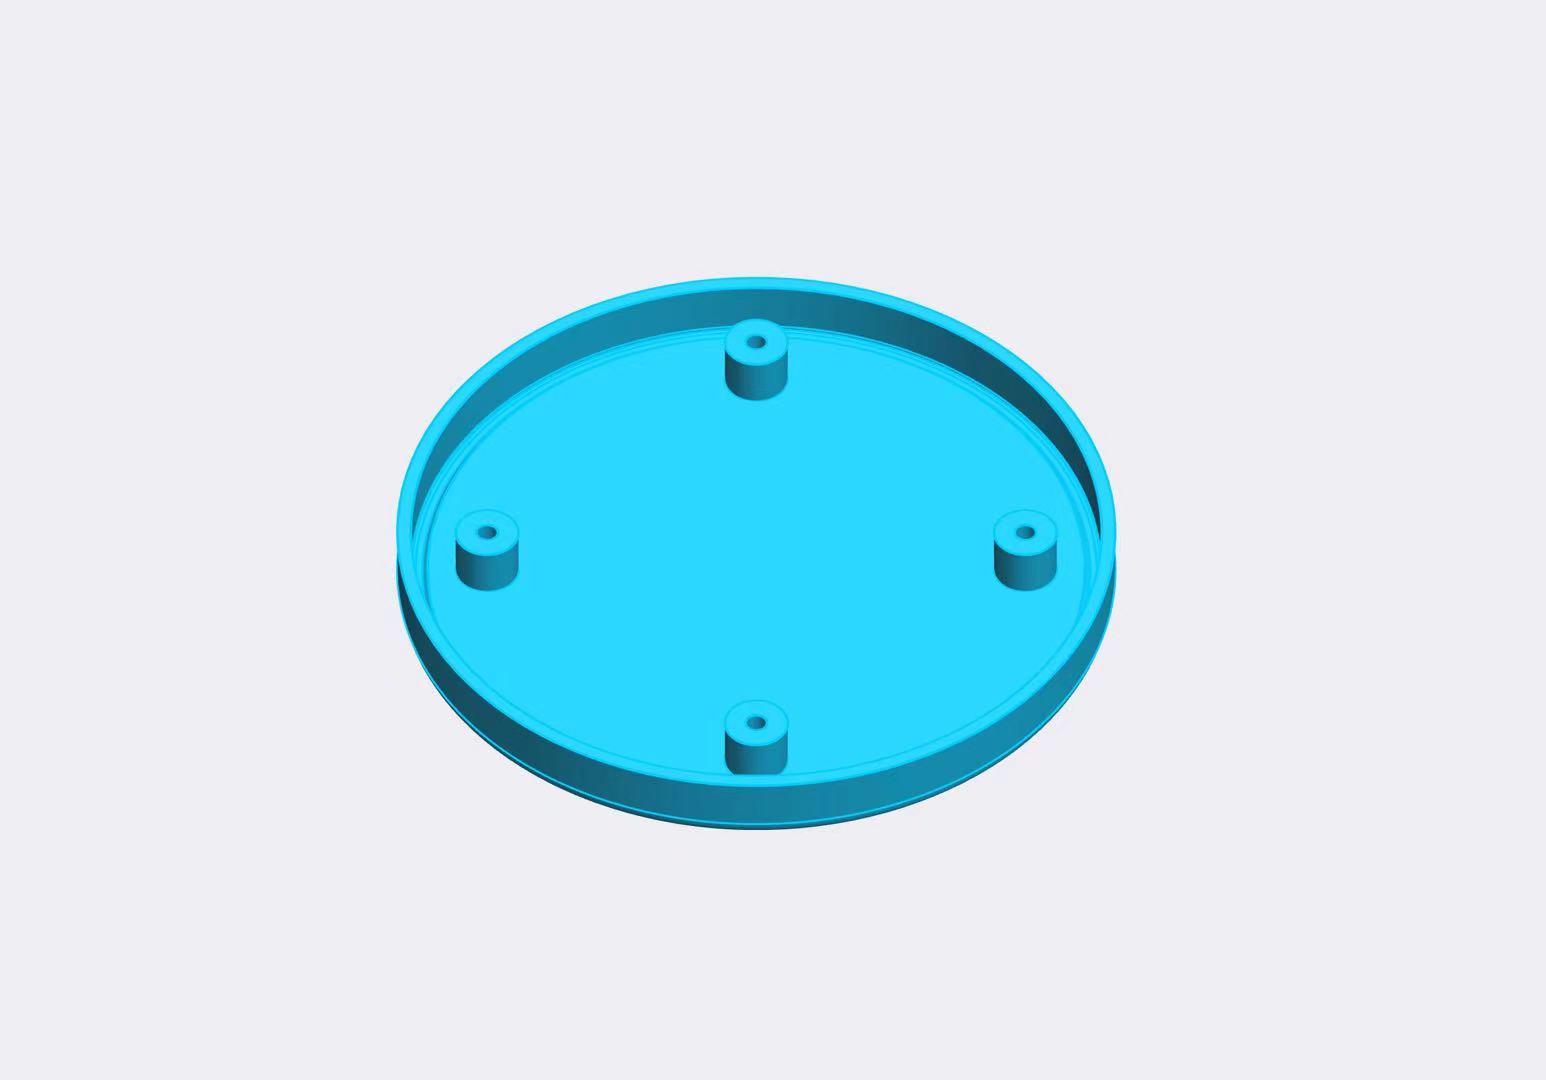
At the same time, I considered making holes in certain positions to ensure that the microphone and speaker work without interference.
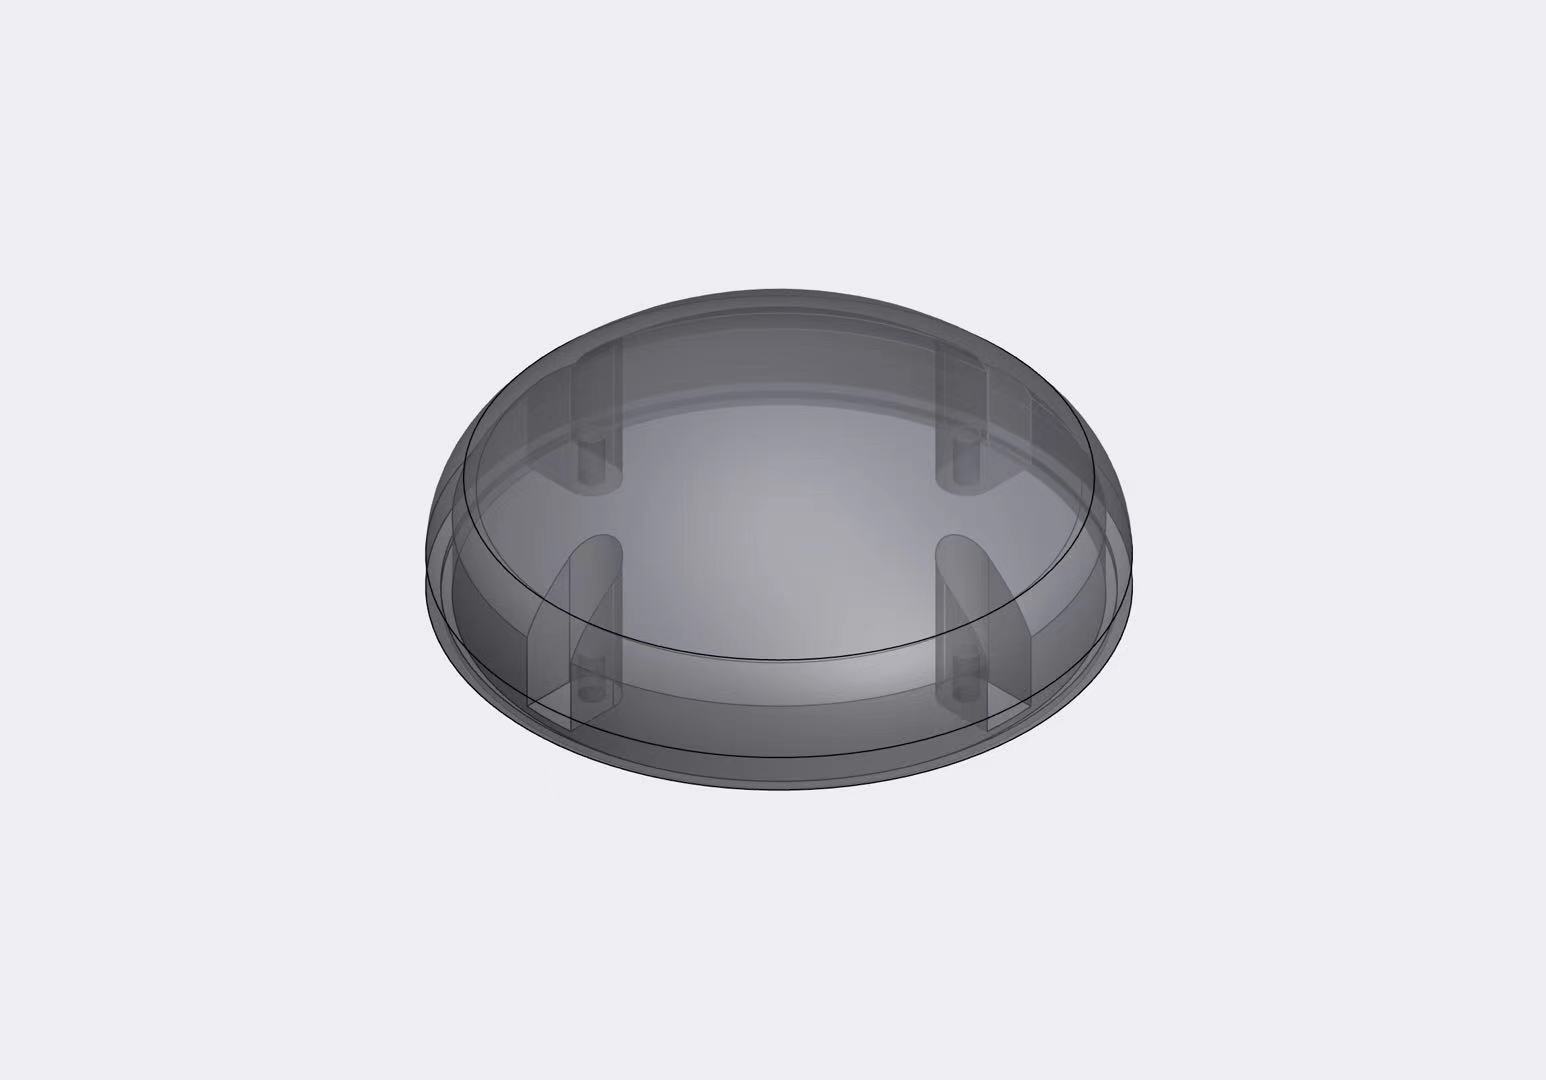
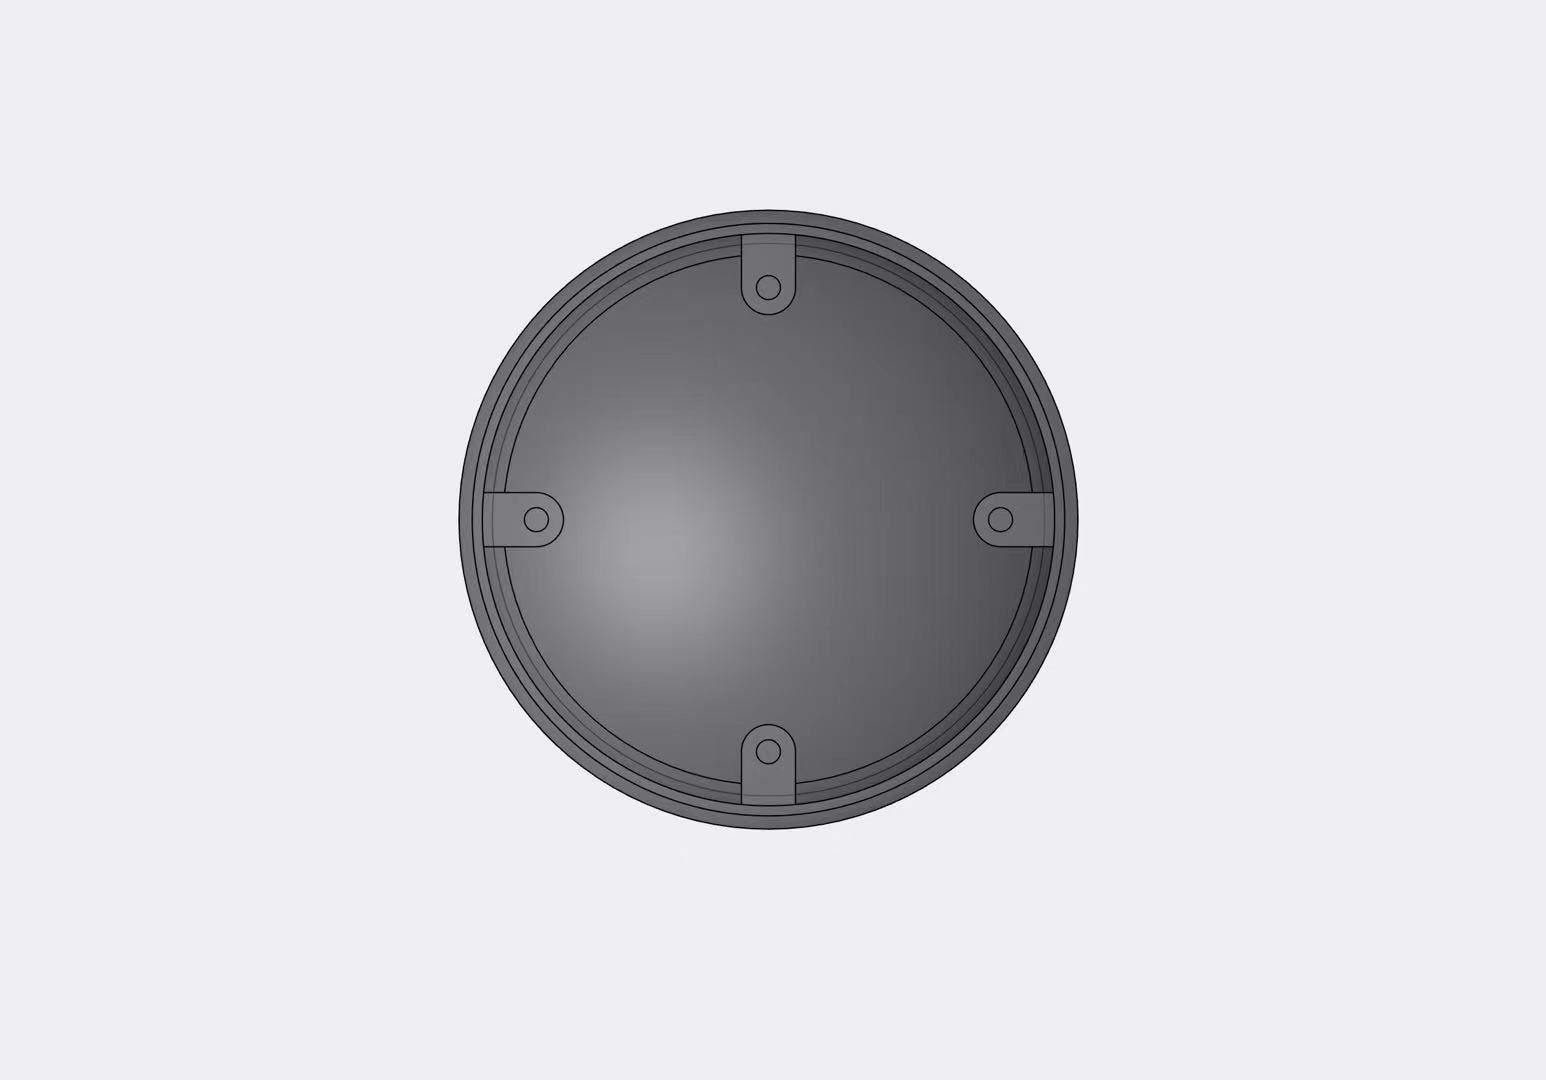
I designed embedded grooves to make the installation of the casing and base more precise.
I chose to use screws and nuts for the connection, so I designed screw holes.
It is necessary to explain that since the casing may need to be disassembled for debugging and testing, I designed a hot melt nut process on the casing.
This makes it easy to connect the casing and the base, and it is more solid.
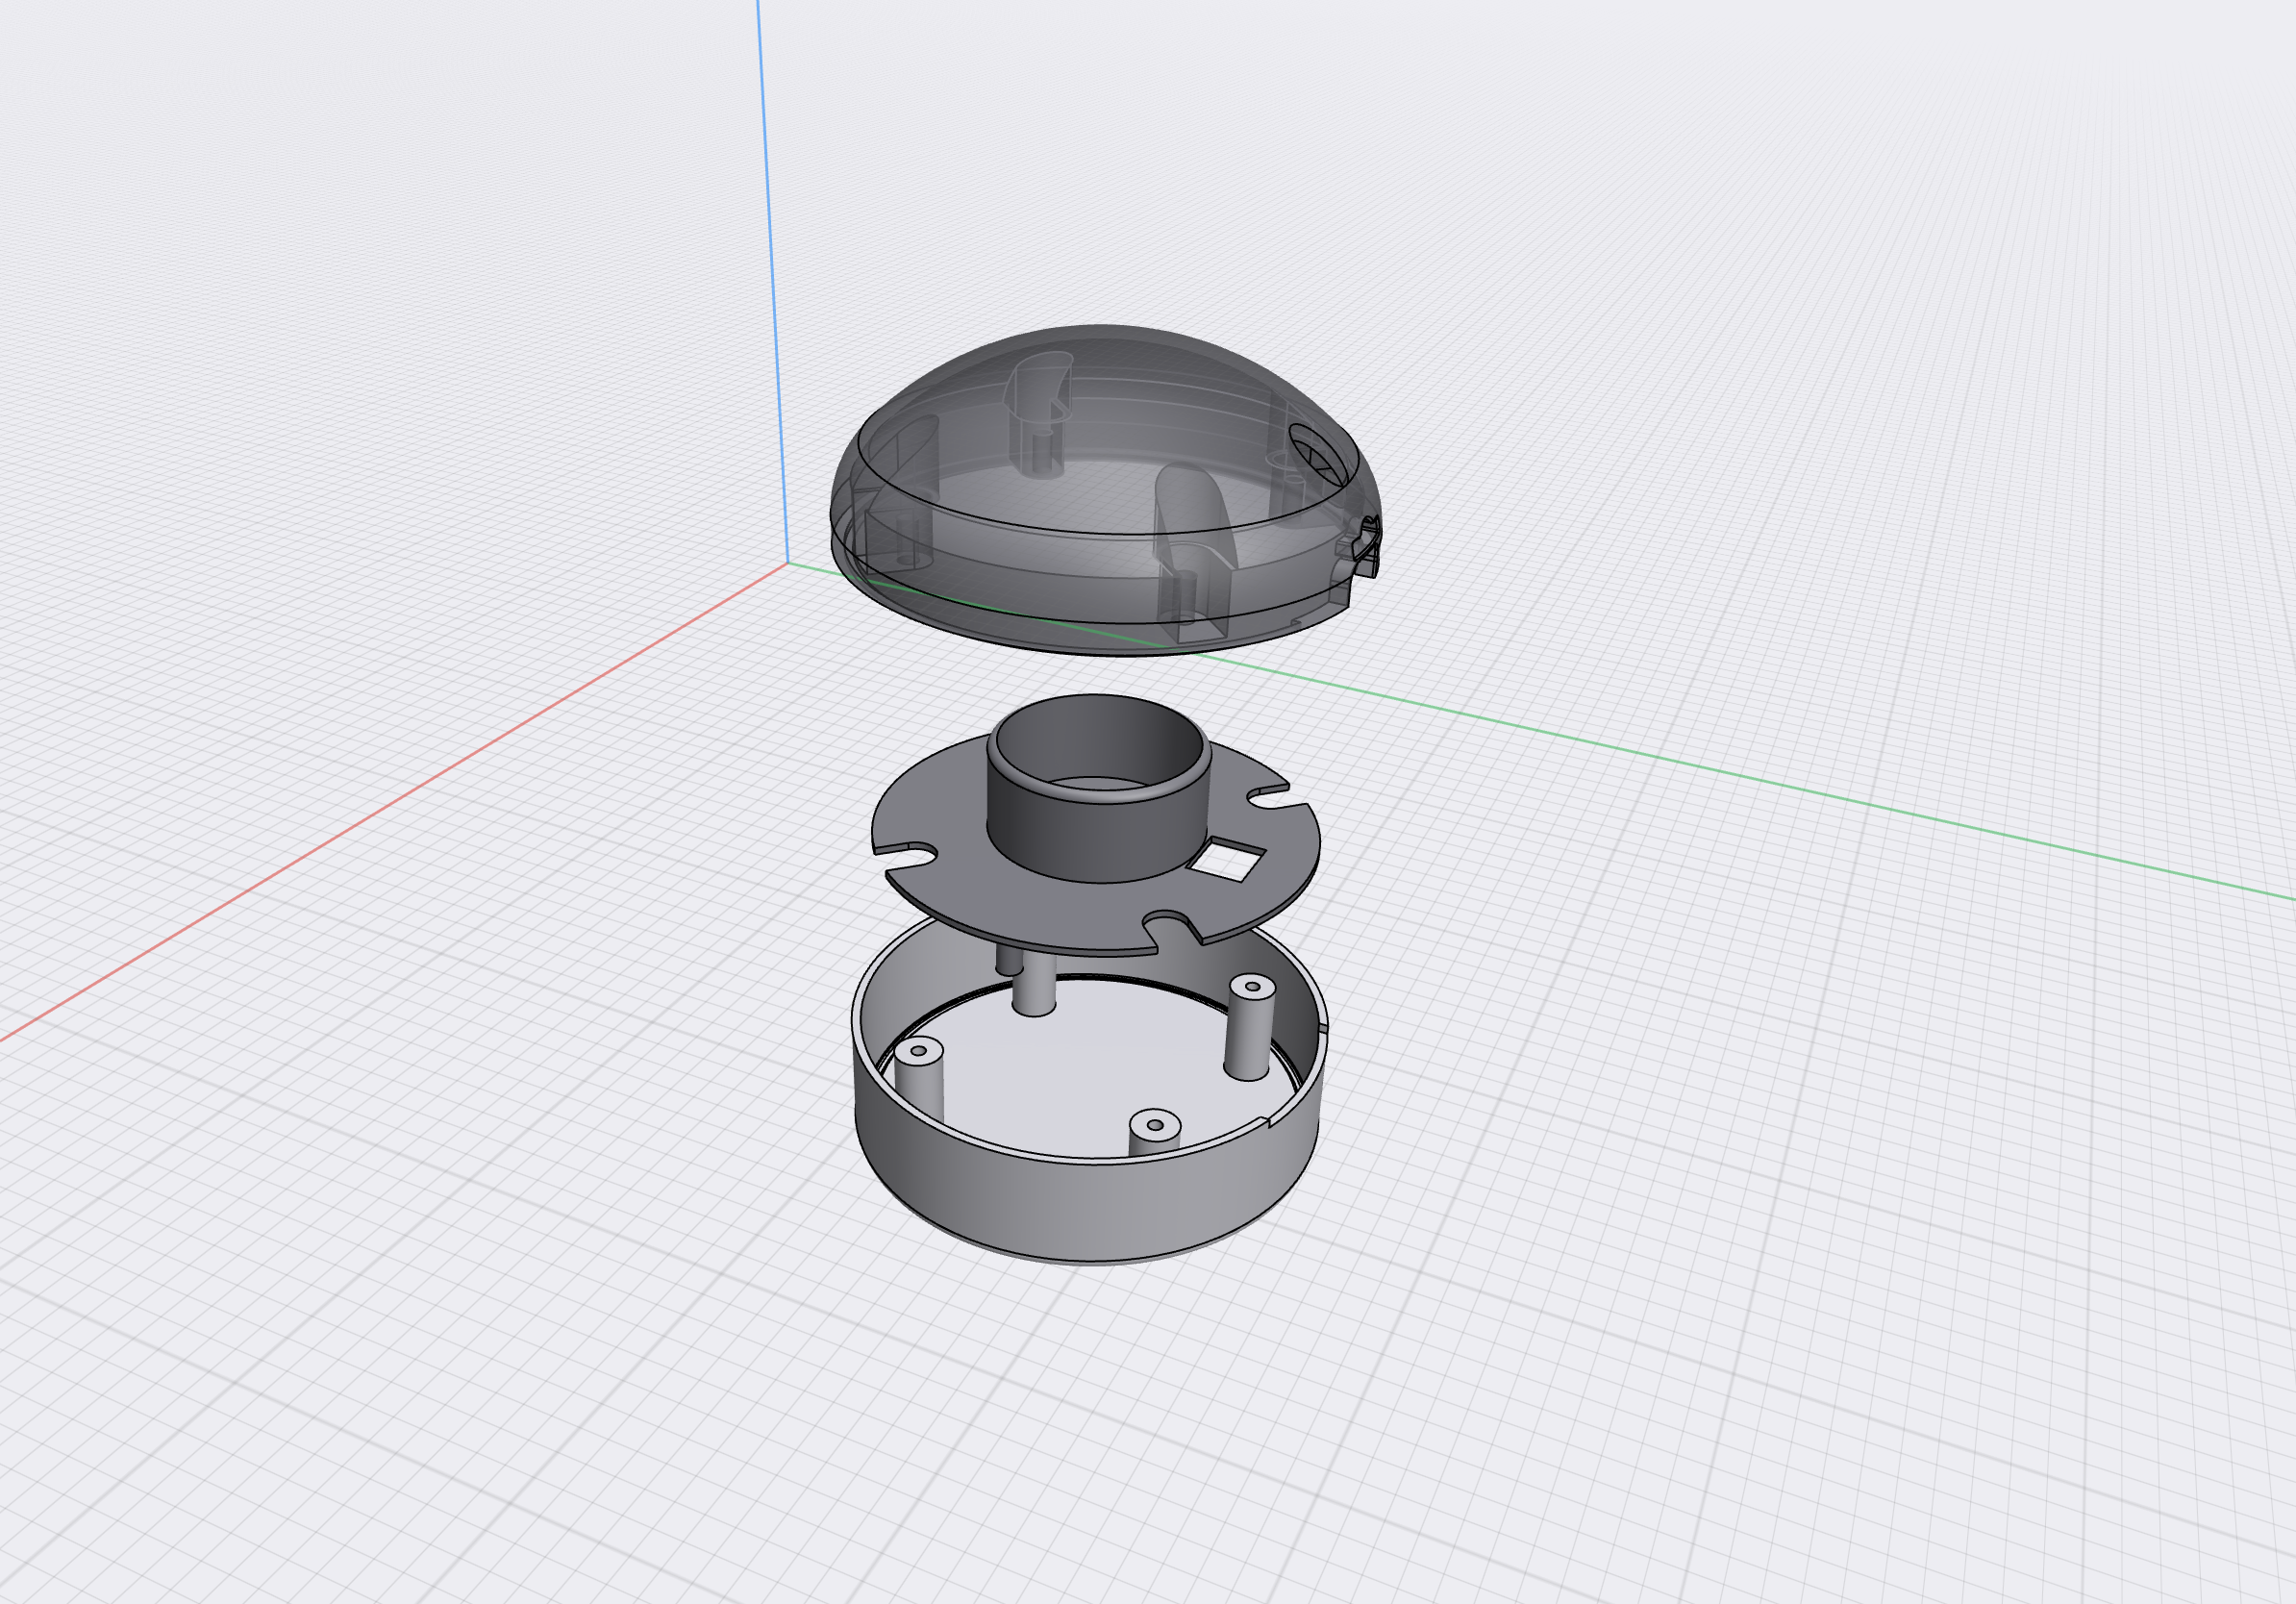
Detail of the 3D design of the Dao Clock
The_DAO_ Clock by chenxin-yang on Sketchfab
Assignment files
Let's Jump to the Top !!!